Atari Roadblasters Video Arcade
Repairs, Restorations, Tweaks and Insights

Introduction
9/2/2011
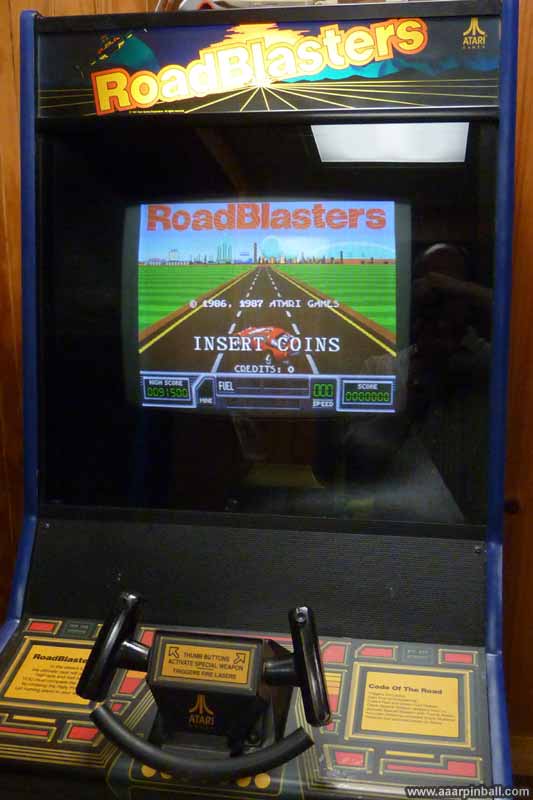
Roadblasters is a game I played at the arcade back in the mid 80s. It wasn't a game that I put a ton of quarters into, but it certainly got more than a few. I decided to piece together a Roadblasters because I have a nice Atari System 1 cabinet (running Marble Madness) and thought it would be appropriate to have a different System 1 game that runs in the same cabinet.
Roadblasters Conversion Kit
9/2/2011
Atari's Roadblasters is a System 1 game and, as such, it can be installed into any System 1 cabinet. Converting an Atari System 1 cabinet from one System 1 game to another requires a game "kit". The kit for Roadblasters includes the following:
-
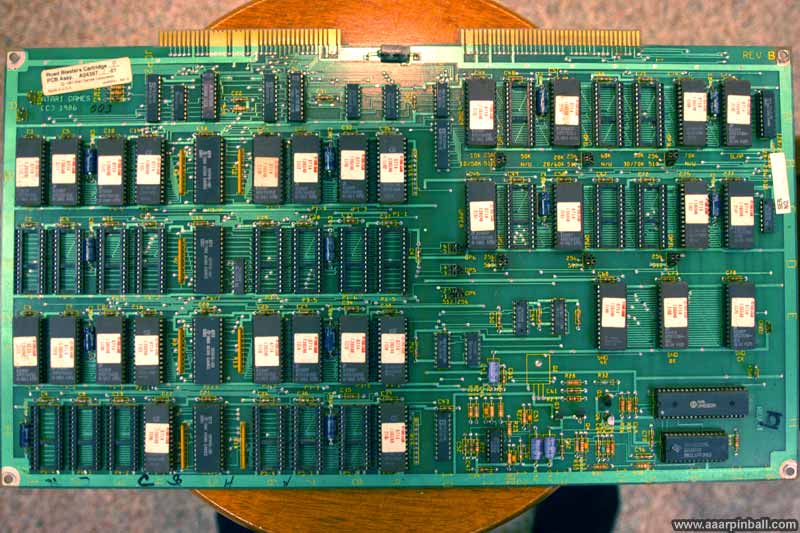
Cartridge containing the Roadblasters ROMs, unique ASICS, and security chip (slapstik)
-
Marquee with Roadblasters artwork
-
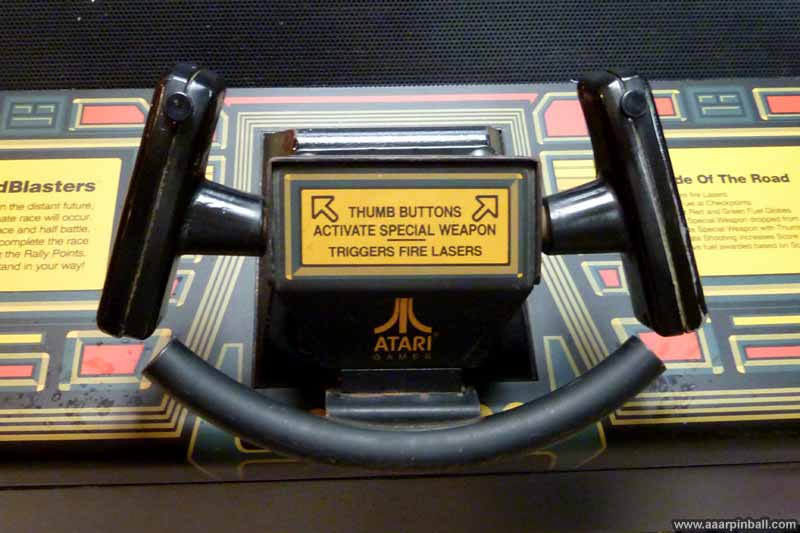
Game unique control panel (futuristic steering wheel) and gas petal
The "cartridge" isn't a cartridge in the sense that older video games systems, such as a Sega Genesis, took. Rather, it is large PCB that connects to the System 1 main board using two 80 pin connectors. A picture of the cartridge is shown below.'
The rather boring image below shows the System 1 cabinet with only the System 1 main PCB installed. No cartridge is installed. The cartridge connects at the bottom near the correctors surrounding the power supply molex connector.
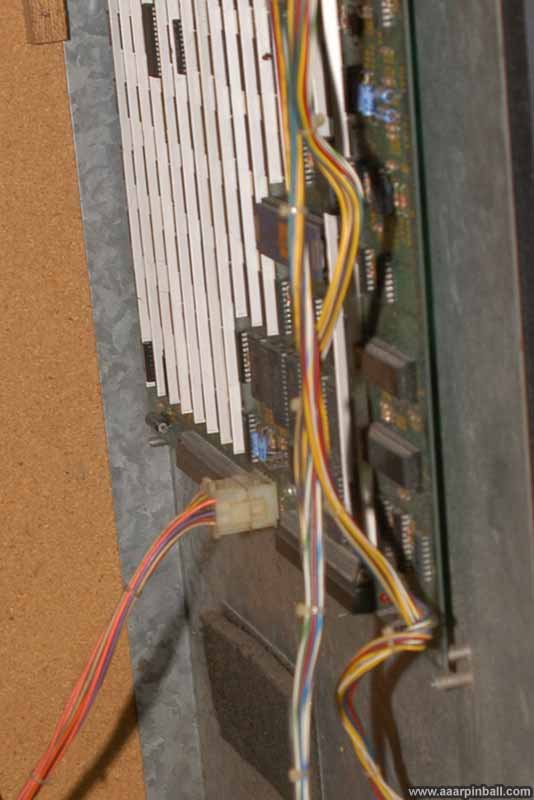
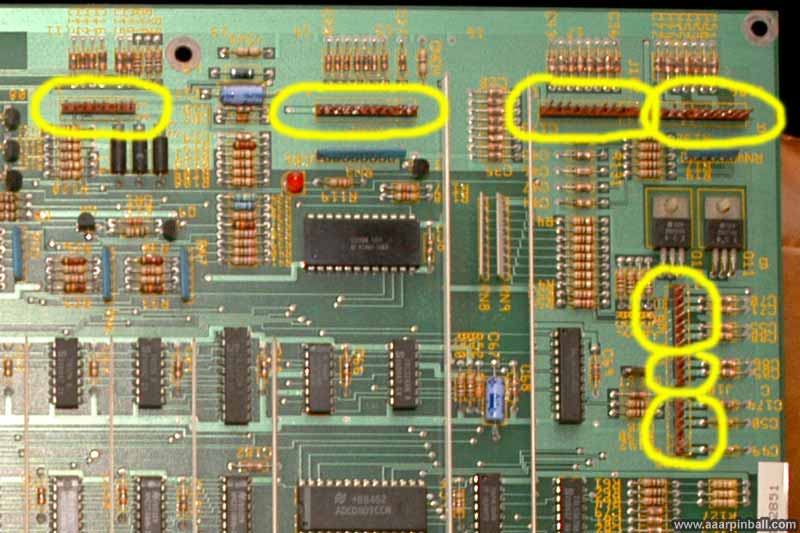
Below is a picture of the System 1 main PCB's upper right corner. There are 7 connectors (which I've circled in yellow to highlight). While some of these are wired the same regardless of the System 1 cartridge (connection to coin door, connection to AR-III speaker board, connection to monitor), others have cables connected from the unique control panel.
Left Thumb Trigger was not Working
9/5/2011
I realized that the left thumb trigger wasn't working. I took the handle off can verified that the switch had stopped working using my DMM. I read on the KLOV forums that a Radio Shack switch would work well as a replacement. While the actual part can be ordered, it cost more than Radio Shack and required waiting for it to arrive. The Radio Shack part number is 275‑0016. This part is pictured at the top of the following picture. The original part is below it (in the same image).
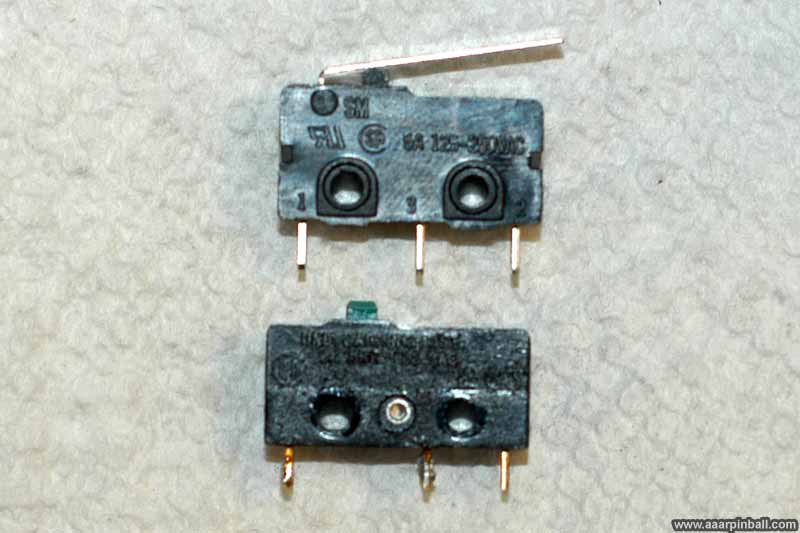
It's not an exact match, but it looked close enough. The metal activator tab needed to be removed. I was able to complete remove it by grabbing onto it with a pair of pliers and rocking it back and forth.
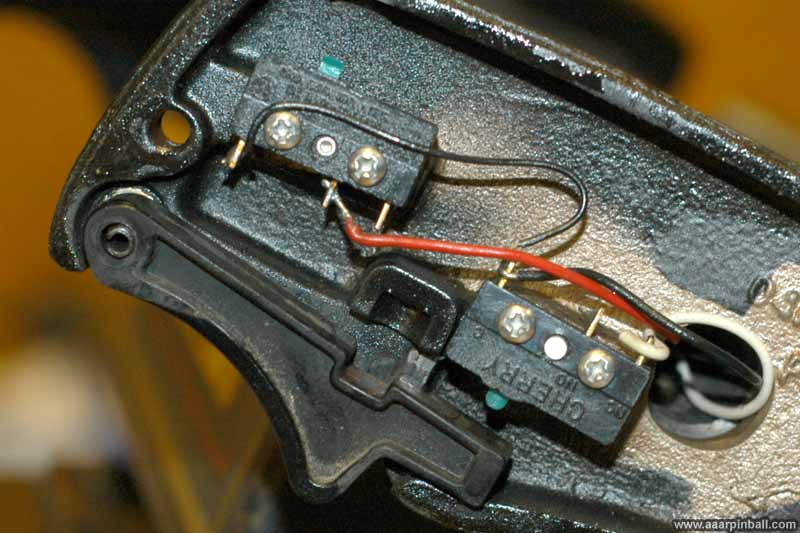
The image below shows the control handle with the original (broken) switch. I unscrewed the switch and desoldered the two wires.
I then soldered the two wires to the new switch. A picture of the newly installed switch is below. (I realize now that the picture above didn't have the thumb button while the one below does. Oh well.)
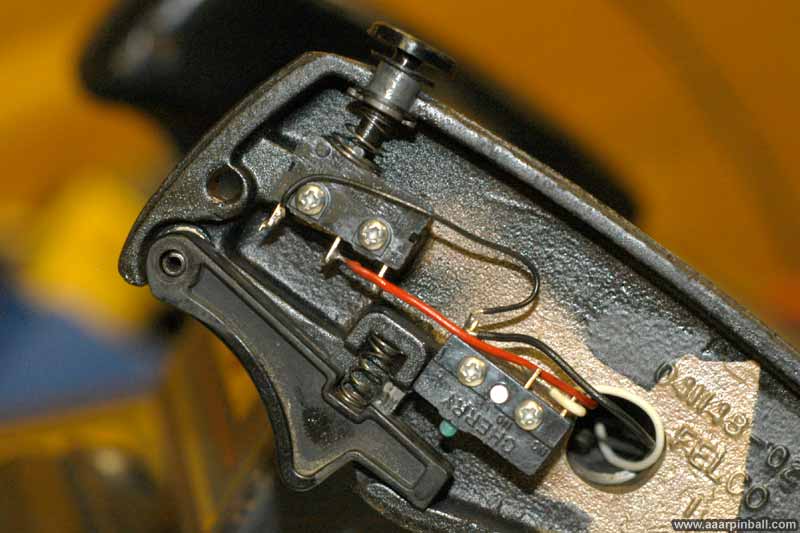
The Radio Shack switch works well as a replacement. It does have a noticeably louder clicking sound when the button is pressed, but I assume this is not just a result of the replacement part but also the age of the original part.
Pictures
8/29/2011