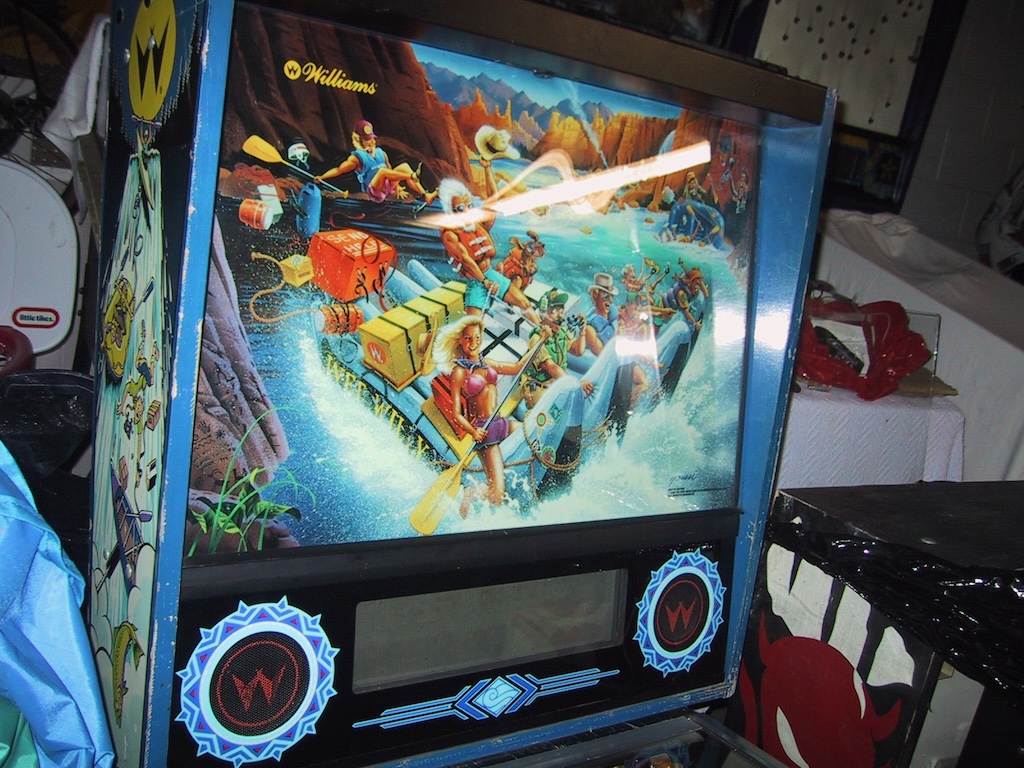
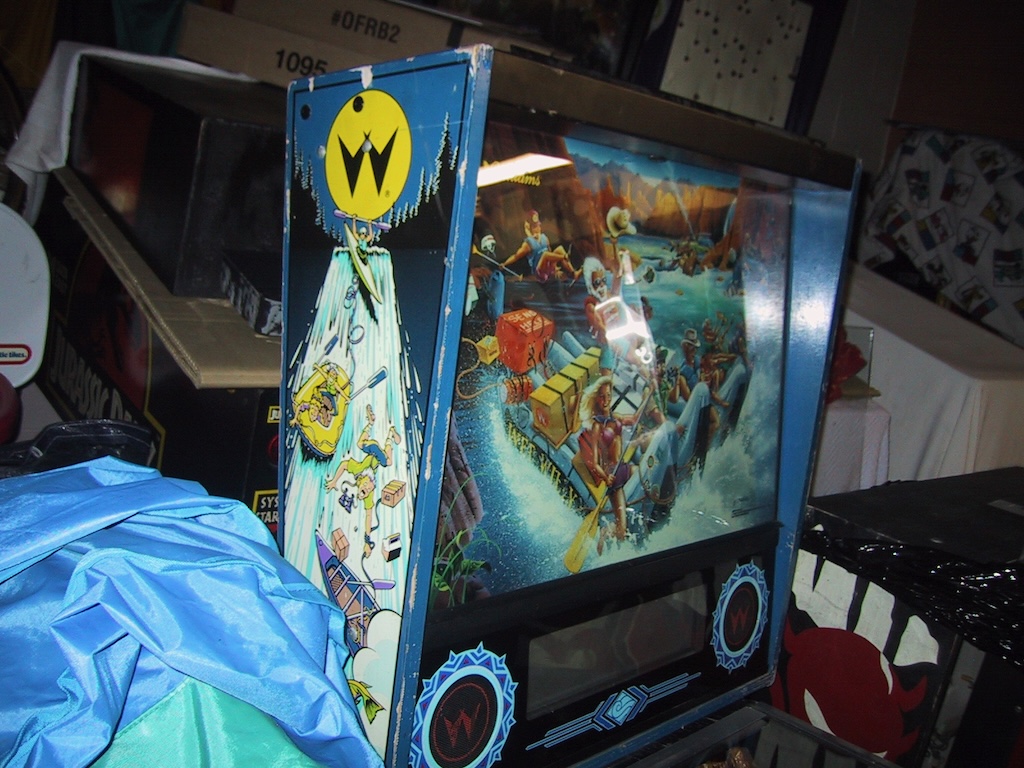
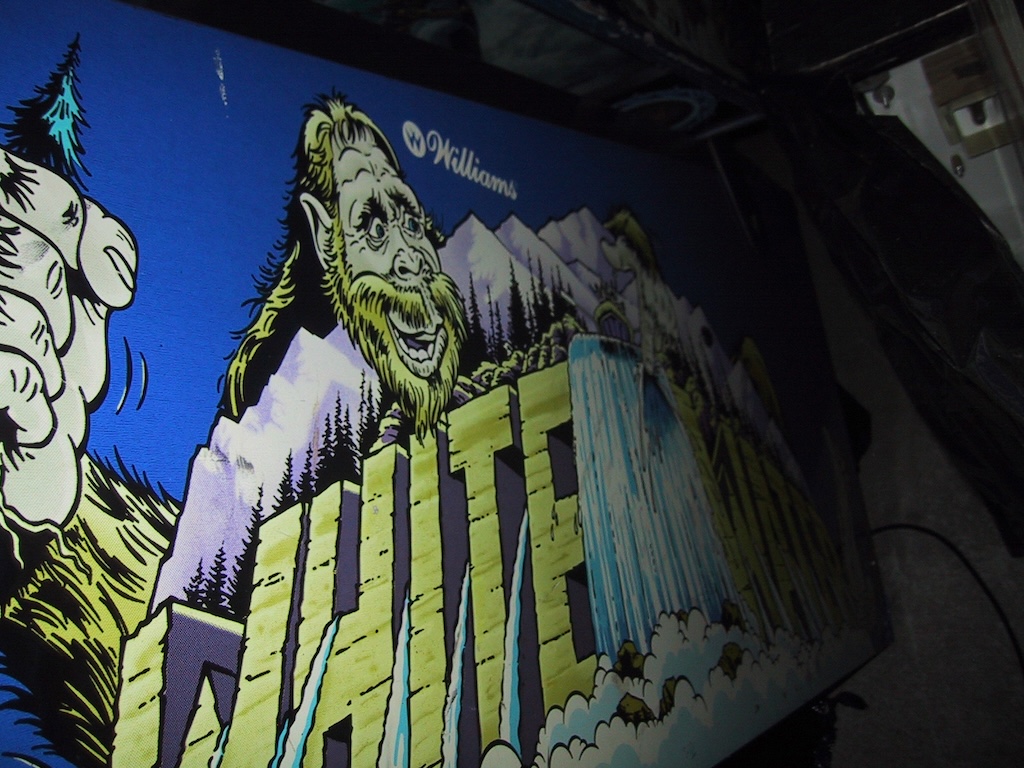
Williams White Water Pinball
Repairs, Restorations, Tweaks and Insights

Introduction
June 24, 2005 (Updated April 18, 2024)
My wife and I first played White Water at the 2005 Allentown Pinball Wizards convention. We both thought it was an excellent pinball machine, my wife was particularly fond of it. This White Water pinball machine at Allentown was in perfect condition and it had a price to match. After Allentown, I set out on a quest to find a reasonably priced White Water.
For what it's worth, someone purchased the White Water at Allentown and "flipped" it. By this I mean they simply added $400 to the price and attempted to sell it again (at Allentown). I do not know whether they were successful.
Over a period of about two months, I was able to track down two White Water machines. One was going to be imported from outside the USA sometime in July (Allentown was the end of April). While it was expected to have a reasonable price and not be shopped, it would need to be shipped. This brought the price to a point higher than I wanted to pay (2024 NOTE: Remember this was back in 2005).
The other White Water I found was about a 4 hour drive away. The seller had not shopped the game yet but after it was shopped it would have cost the same as the perfect White Water I saw at Allentown. I wasn't convinced it would end up looking as good as the price would suggest. This same machine was also offered in an unshopped condition, but the seller would not provide any information regarding the current state. Given this unknown and the fact that the price was pretty high (unshopped game and shopped), I passed.
Then luck struck! I received an email from someone I had previously contacted and they said they had a White Water for sale. The price was right. It needed to be shopped, but it was working 100%. I exchanged a couple of emails and received pictures of the machine. This was a Saturday morning and I left Saturday afternoon for a 9 hour road trip (each way!). I picked up the machine, returned home on Sunday, and both my wife and I are very happy with it.
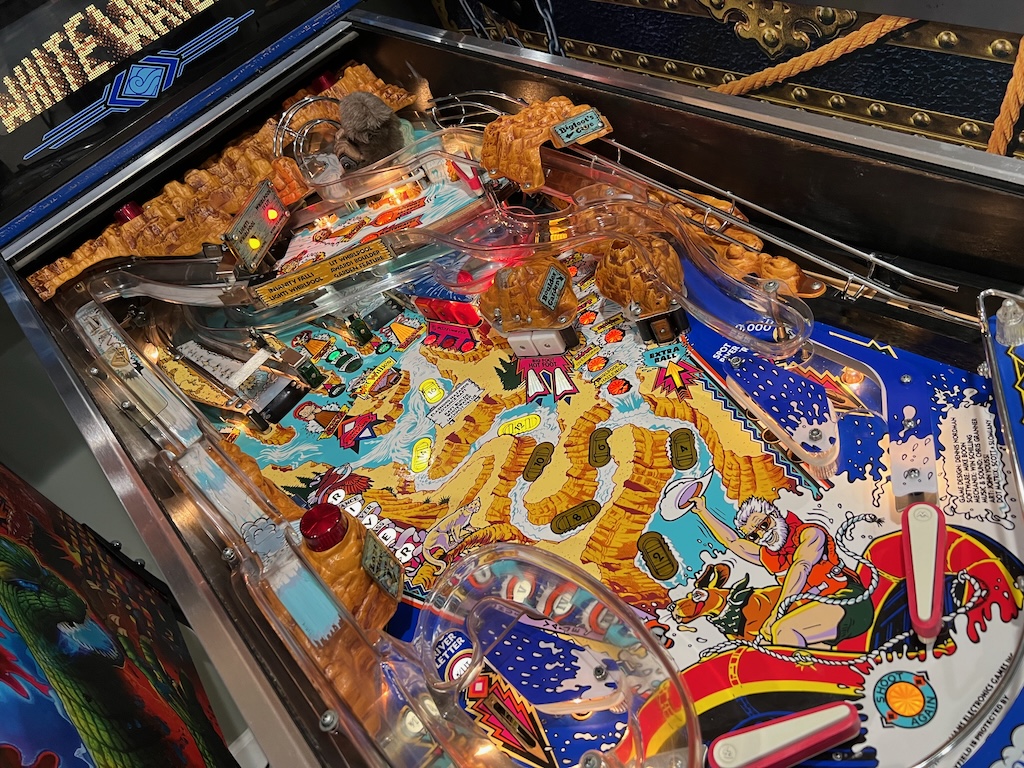
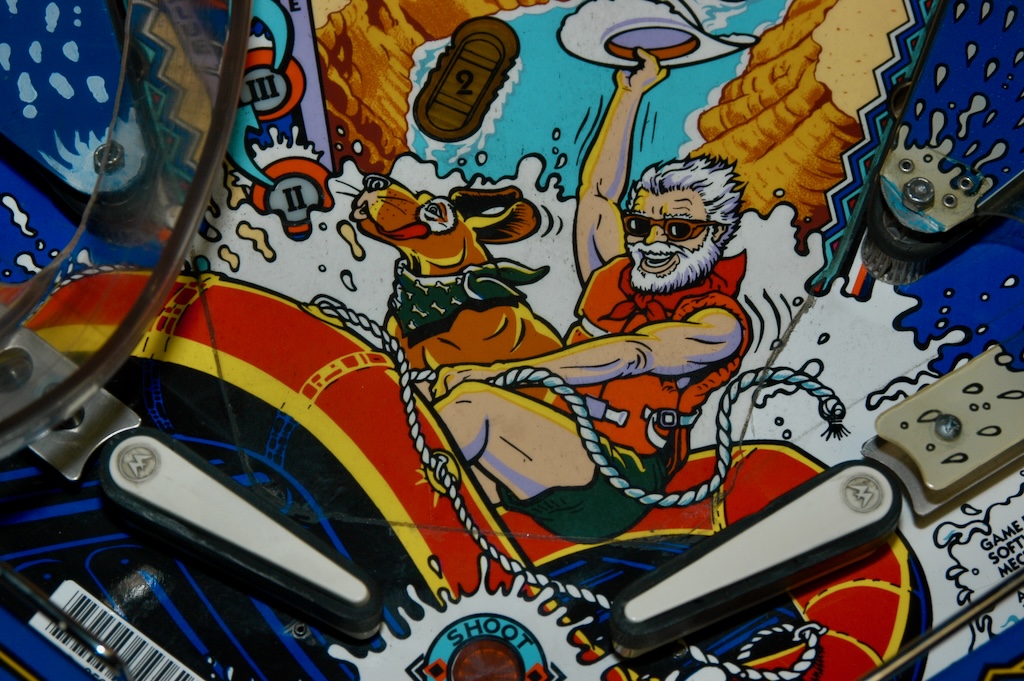
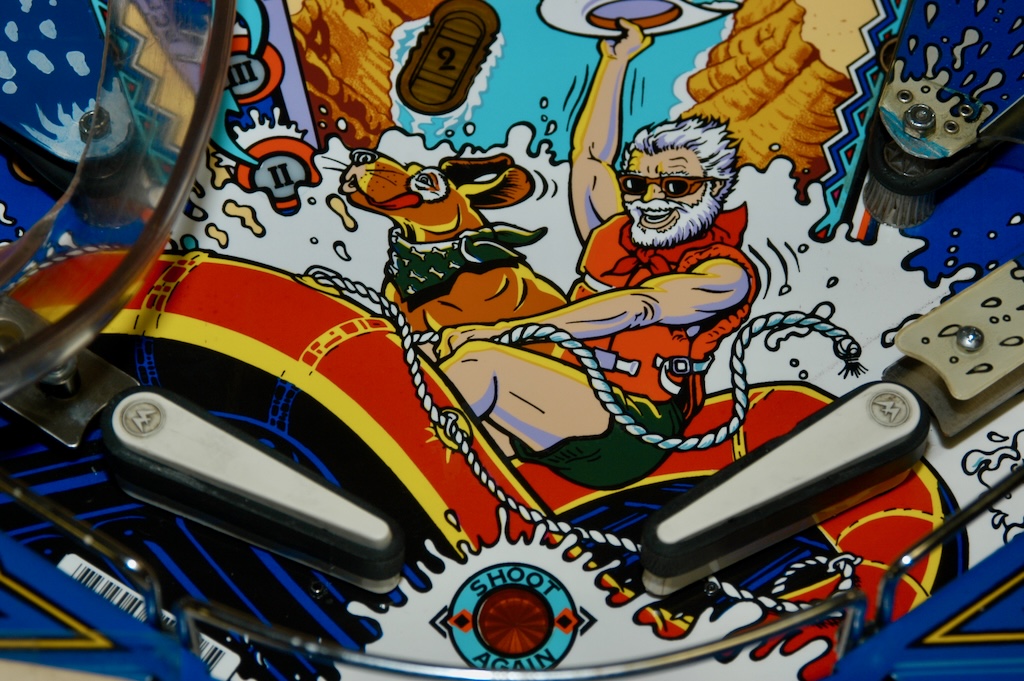
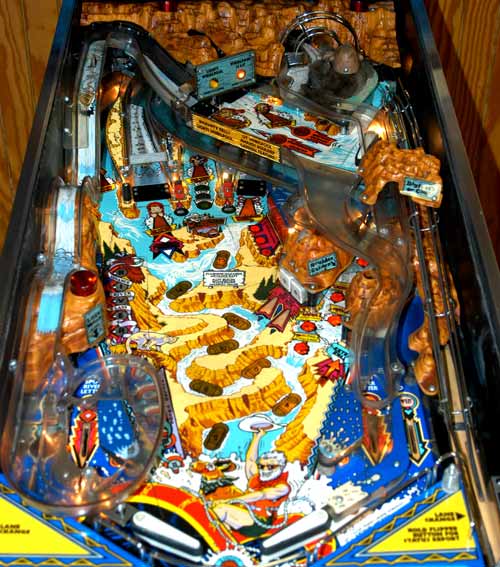
Looking Good!
April 18, 2024
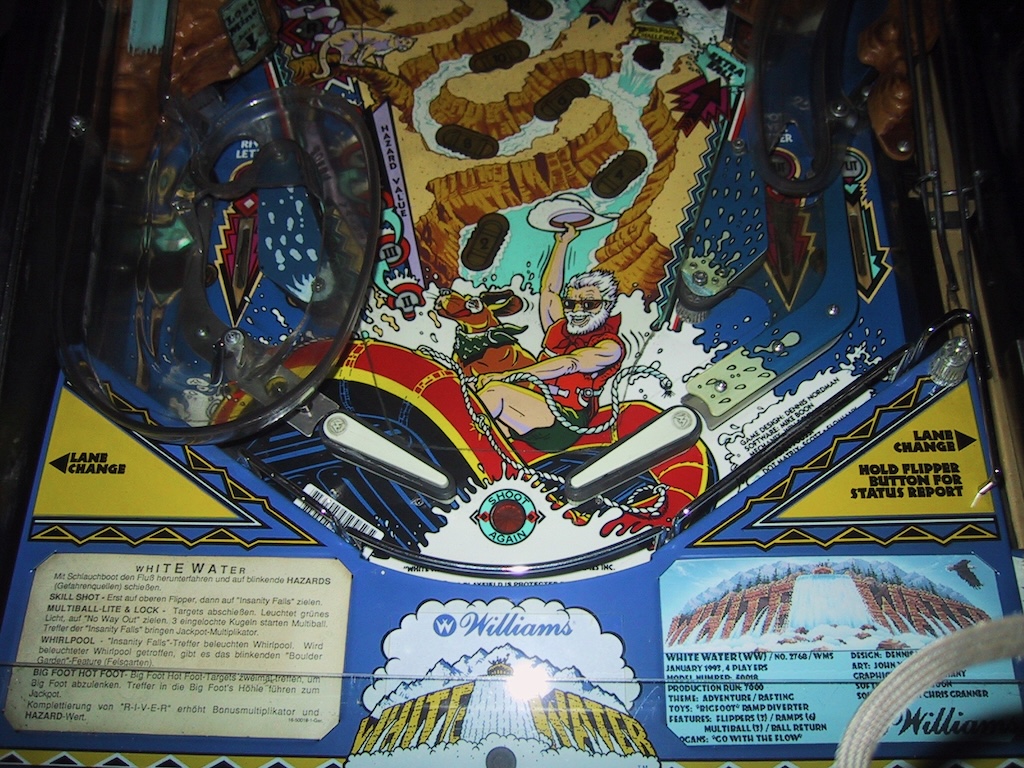
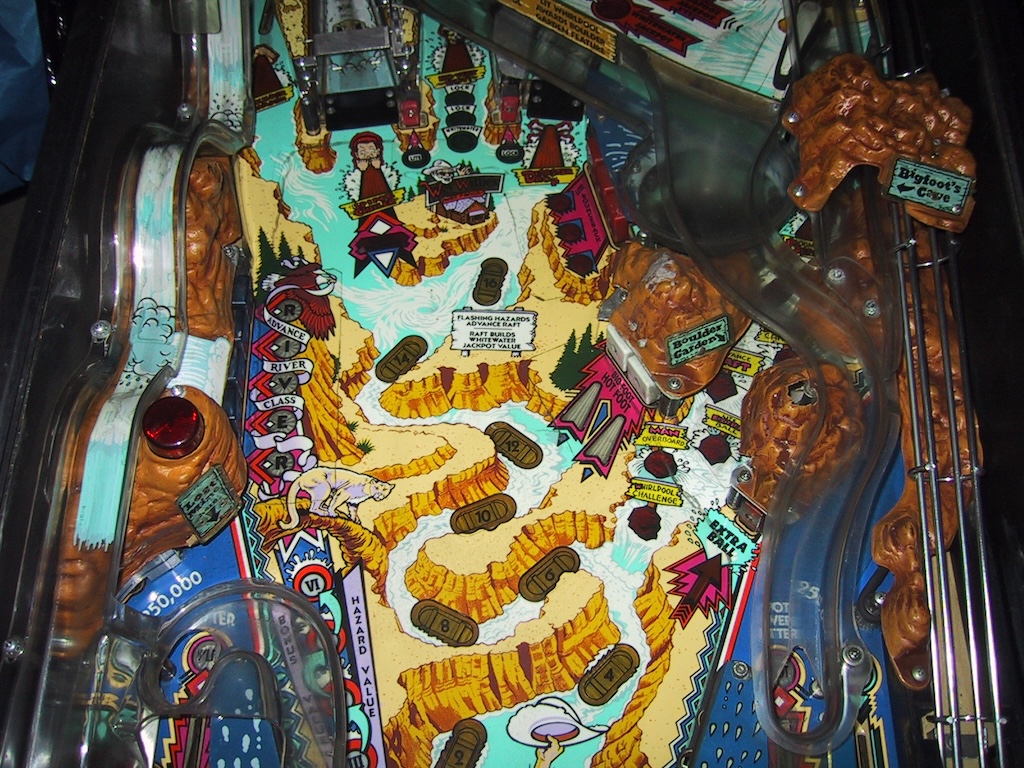
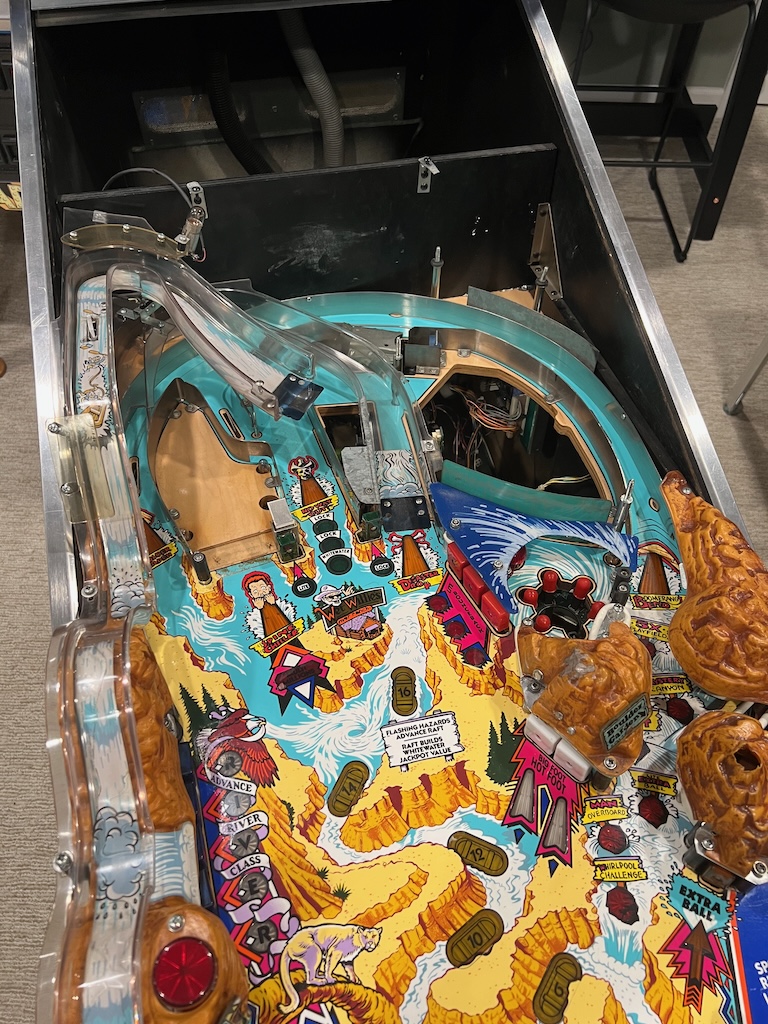
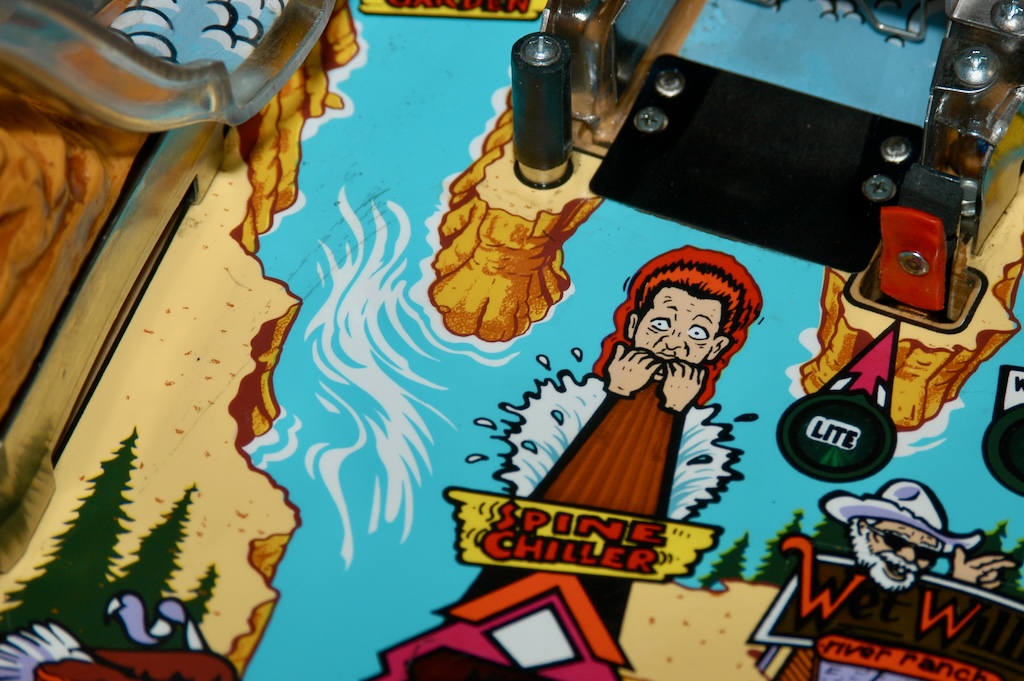
I shopped White Water back in August 2023. Here's a picture of the playfield after I finished shopping the game.
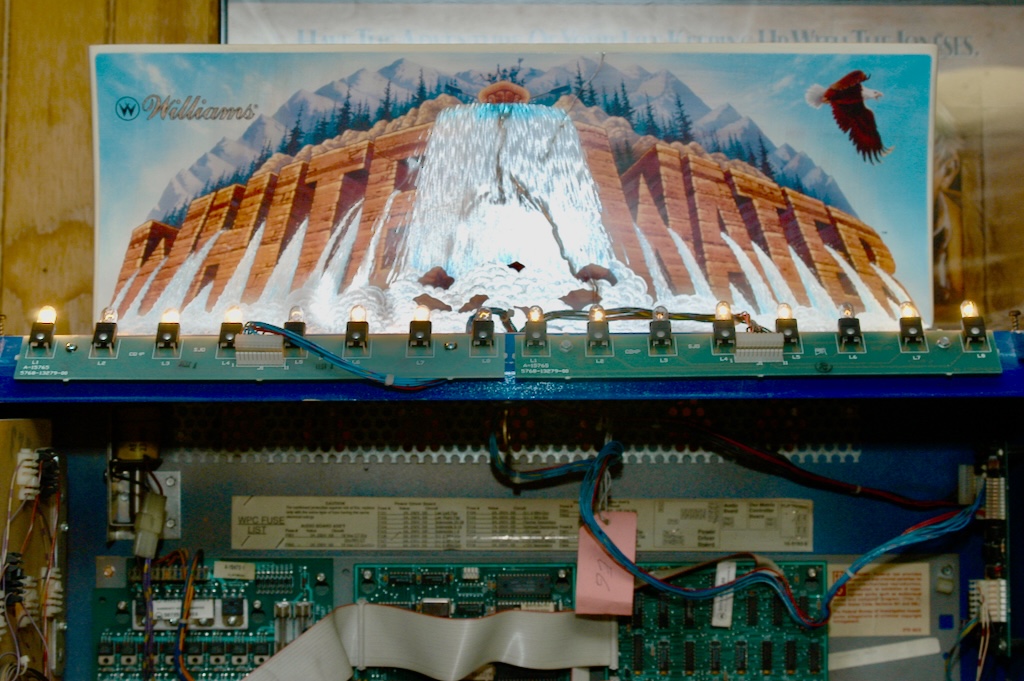
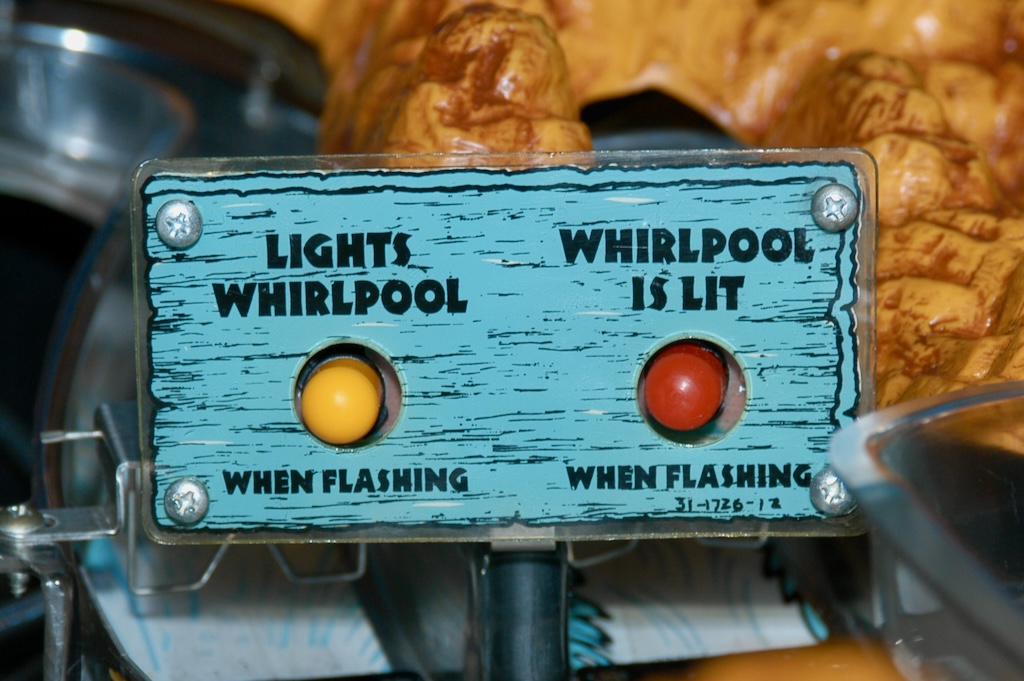
Adding LEDs
April 18, 2024
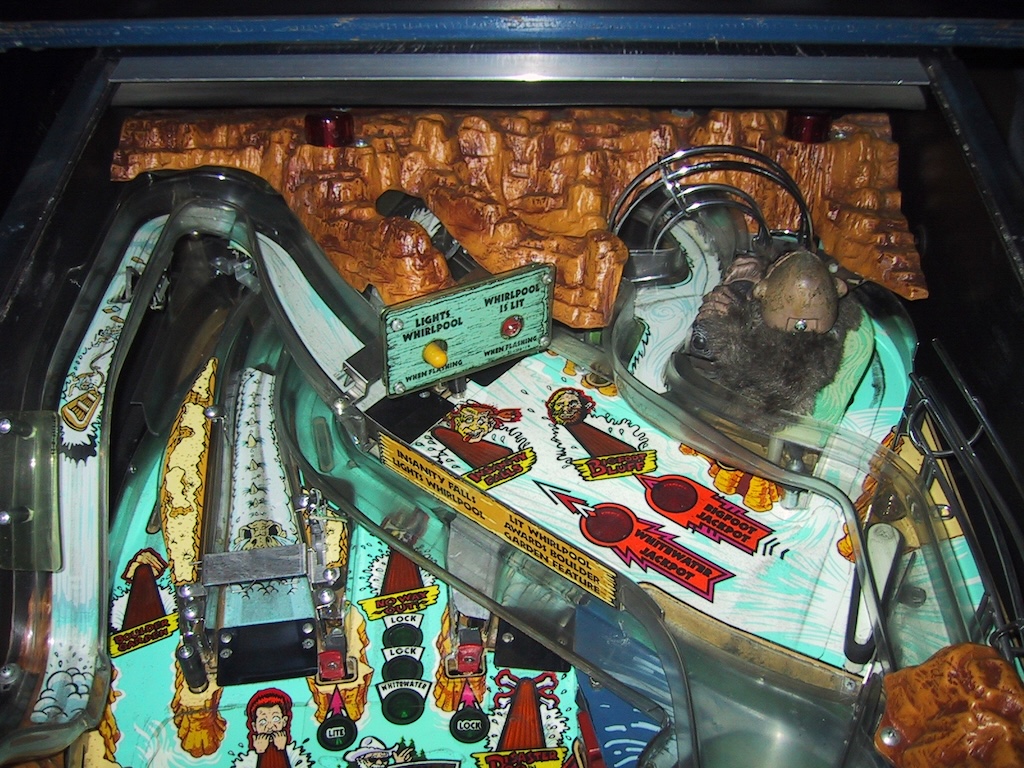
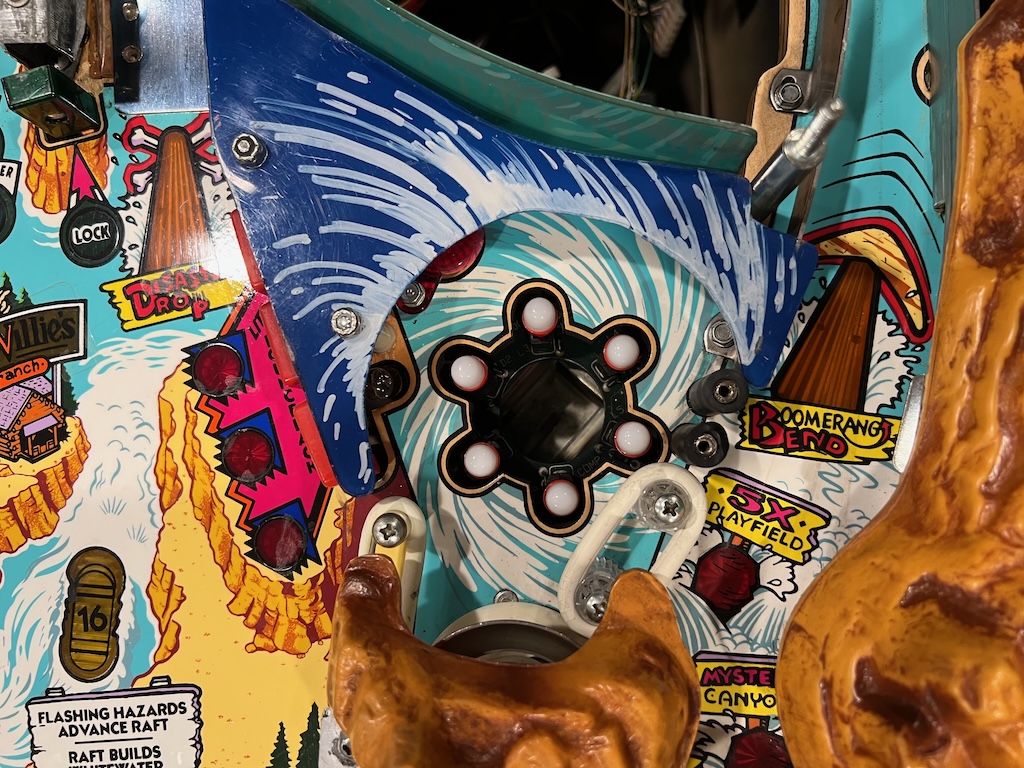
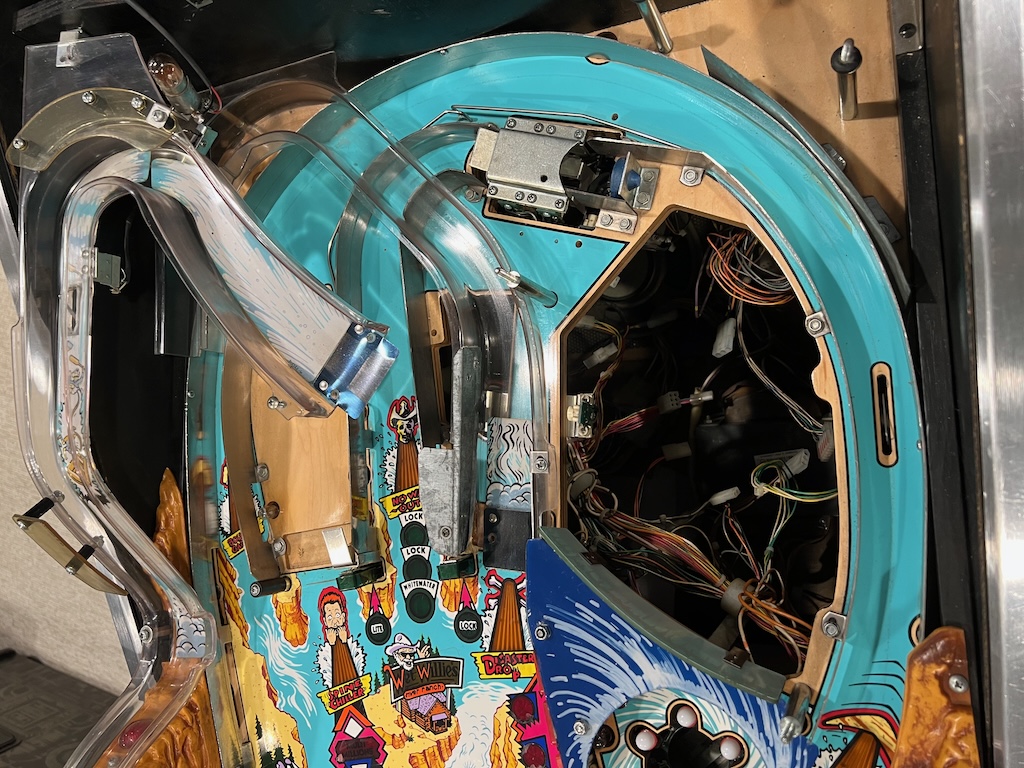
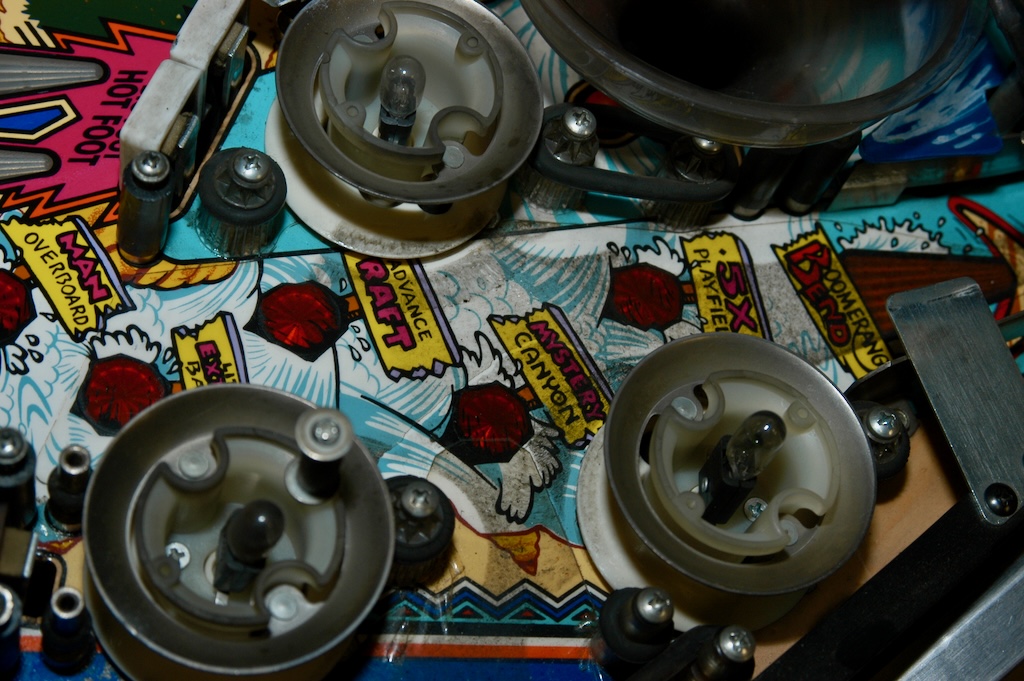
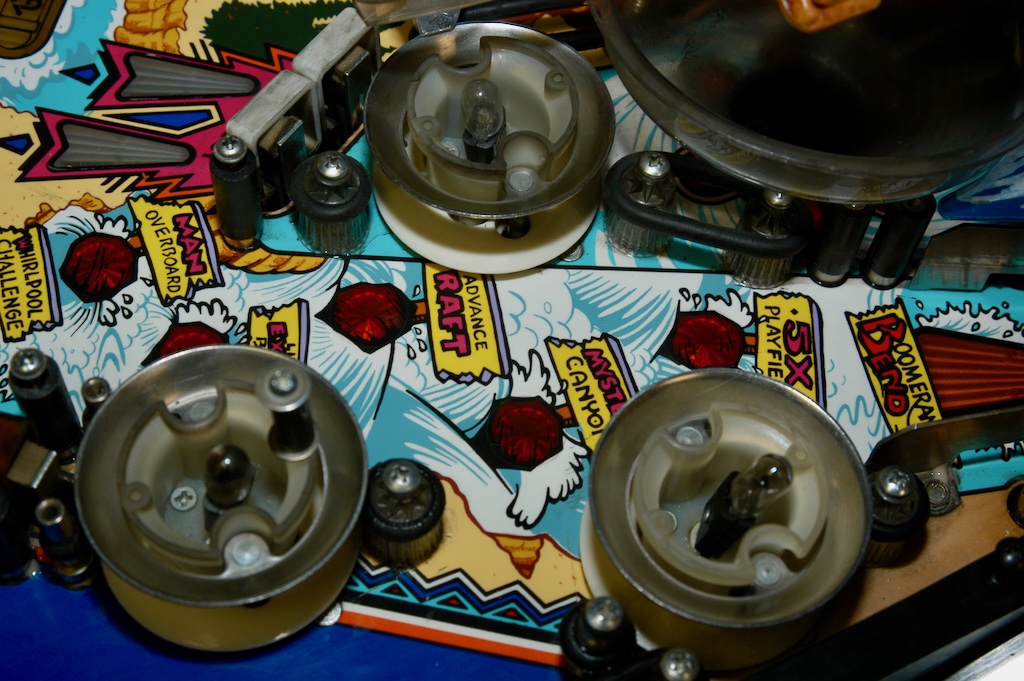
Back in April 2022 I installed LEDs in White Water. While there's not a lot of pictures, the following show the upper playfield removed in order to get access the the bulbs. It also shows the whirlpool lights.

Lite Lock Green Target Cracked
April 18, 2024
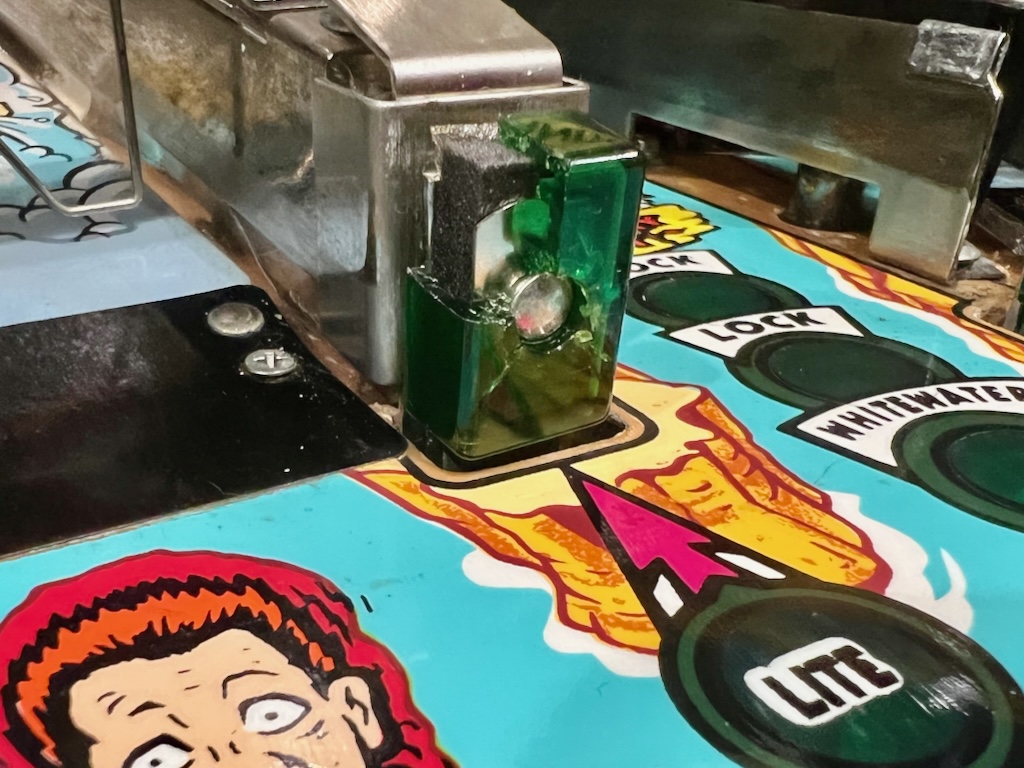
All things eventually break in pinball. Back in August 2023 I was getting ready for some friends to come over and one of the green targets by the center ramp cracked. Luckily a friend had a spare and it was easily fixed. This one survived since I replaced it back in 2005.
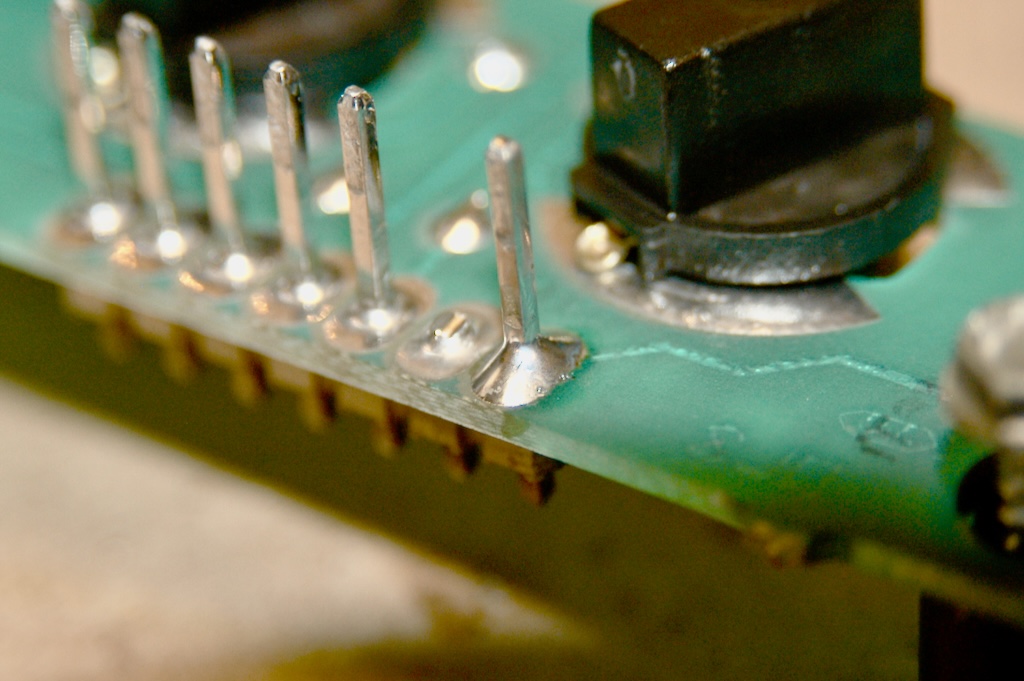
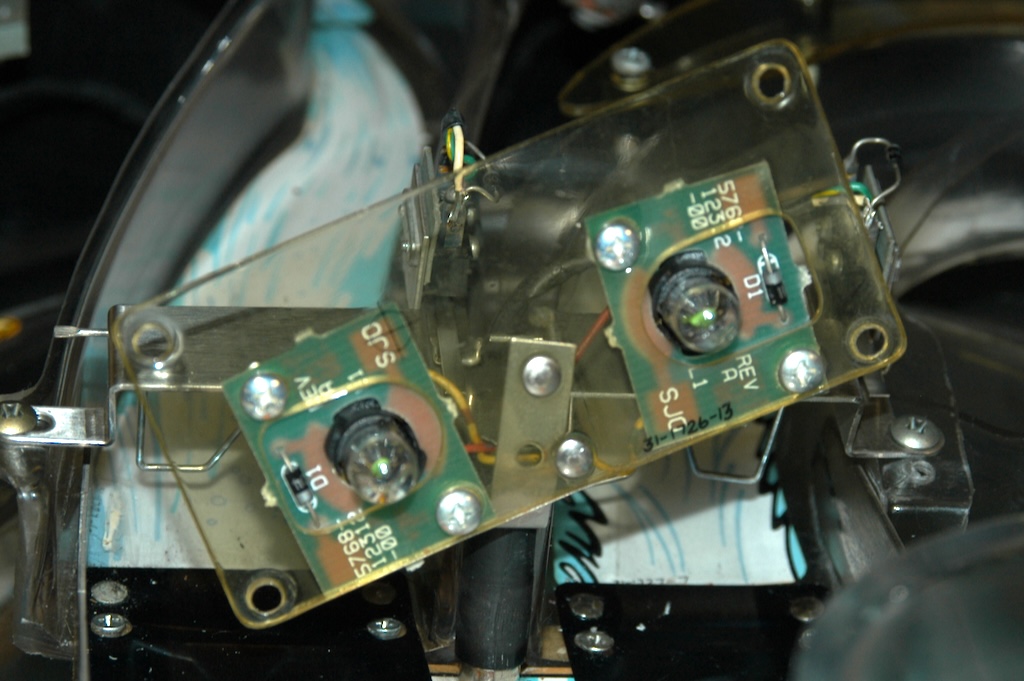
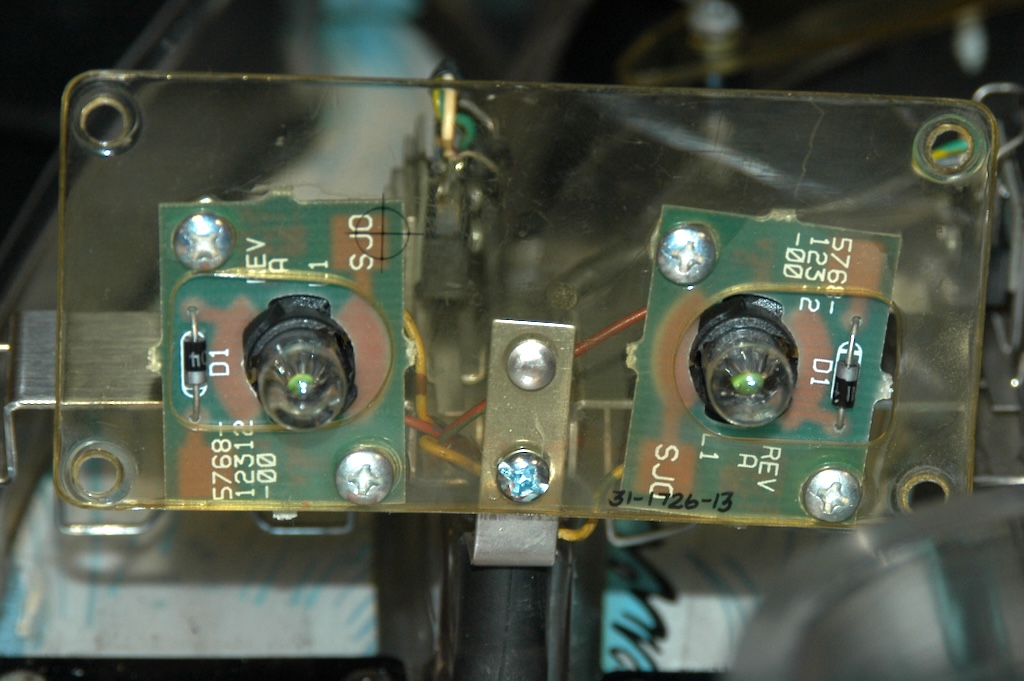
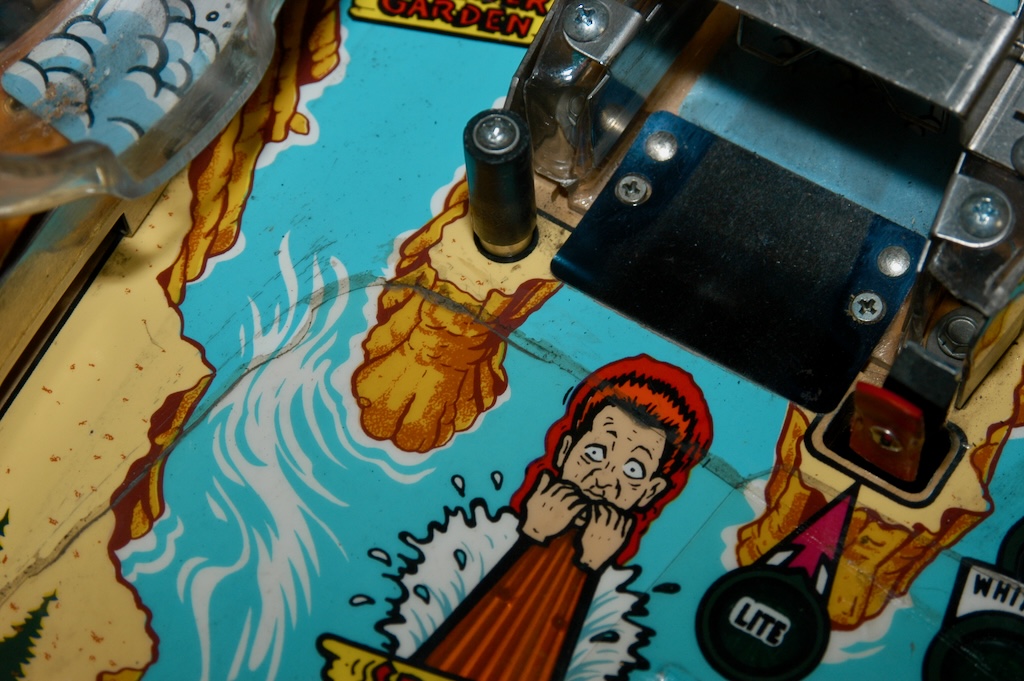
Intermittent Bottom River "R" Light
April 8, 2006
The bottom "R" light from the River targets was intermittent. Some games it would work, other games it would always stay off. After checking the bulb and the bulb's connection to the lamp PCB, I realized there was a problem with one of the pins on the lamp PCB. The solder had cracked around the pin and depending on the phase of the moon, it would make a good connection or not. The first picture below shows the pin with the cracked solder. I resoldered the pin and solved the problem. The light works consistently. The second picture below shows the fixed pin.

Waterfall Lights for White Water Topper
August 22, 2005
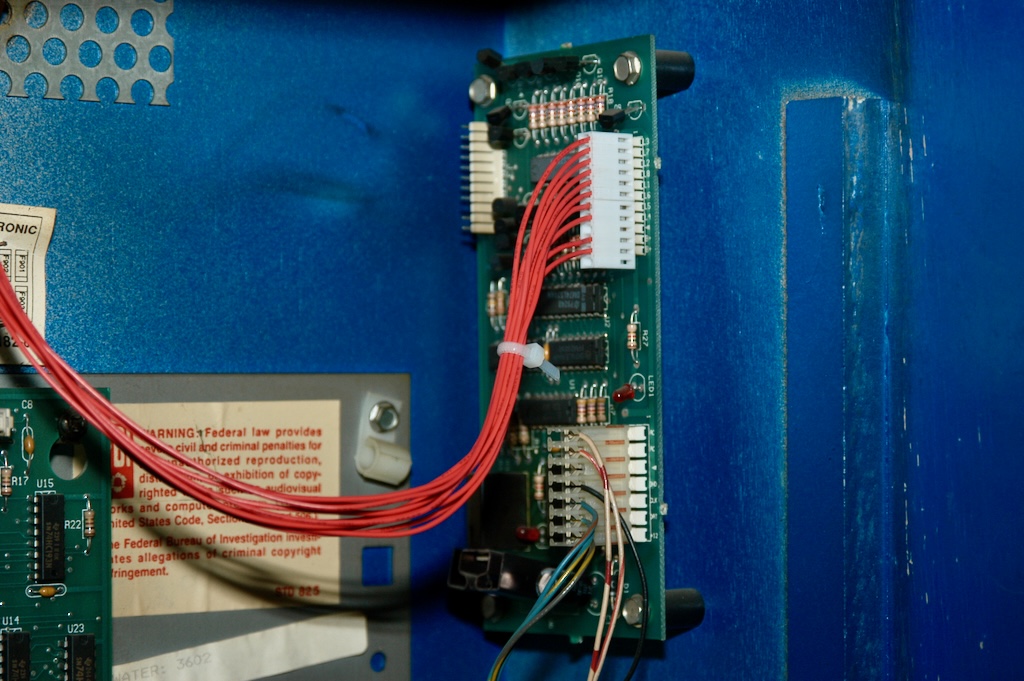
My White Water came with the Waterfall topper, but it did not come with either of the two 8-Light PCBs that make the waterfall appear to be flowing! Luckily, the chase light controller board for the two 8-Light PCBs was inside the backbox. After some investigation I determined that in order to make my White Water's waterfall flow, I needed the following.
-
Two 8-Light PCB boards
-
Two cables to connect the chase light controller board to the 8-Light PCBs
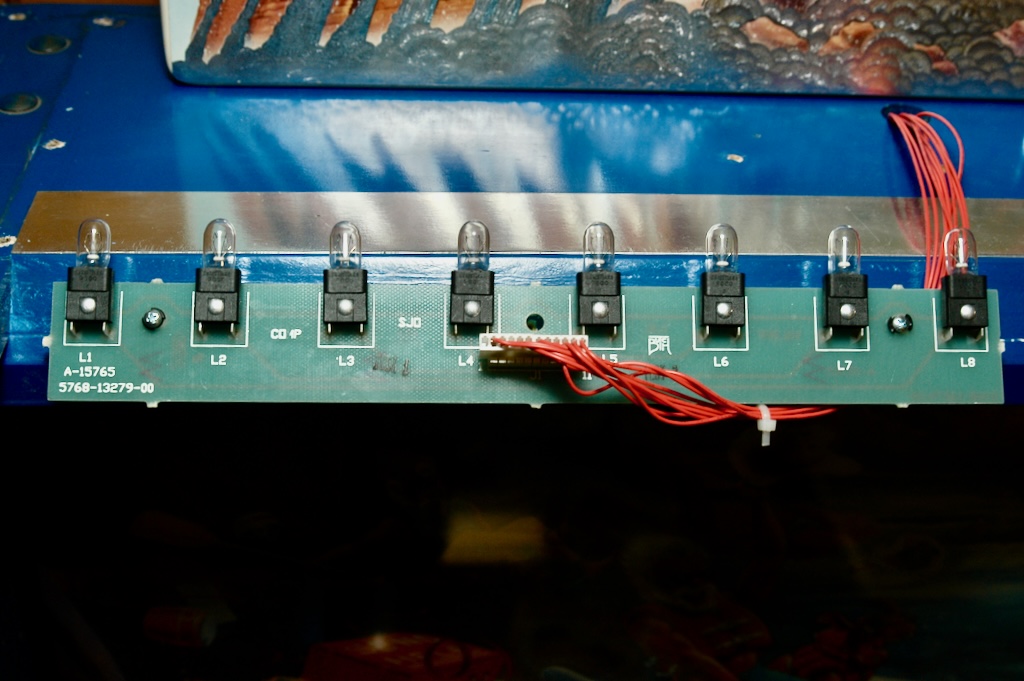
I was able to locate one NOS 8-Light PCB board. I was unable to locate the appropriate cable, so I ended up making it myself. The cable uses 0.100" connectors and is not wired straight though. I found this out the hard way after assuming it was wired straight though. The appropriate wiring is on page 3-32 of the manual. Be aware that pin 1 is swapped on each end! I used Trifurcon crimp contacts and four 6-circuit connectors (two for each side of the cable). The first picture below shows the chase light controller board inside the backbox. It is mounted on the upper right side. The upper right cable (with all red wires) on this board is the one I built. As you can see in the first picture below, it sticks over the side a little bit. This is because the controller board only needs 11 circuits and I did not have an 11 circuit connector. The second picture below shows my cable connected to the NOS 8-Light PCB board on top of the backbox.
The following two pictures show a full view of the White Water topper (without the light guard) as well an angle view (with the light guard installed).
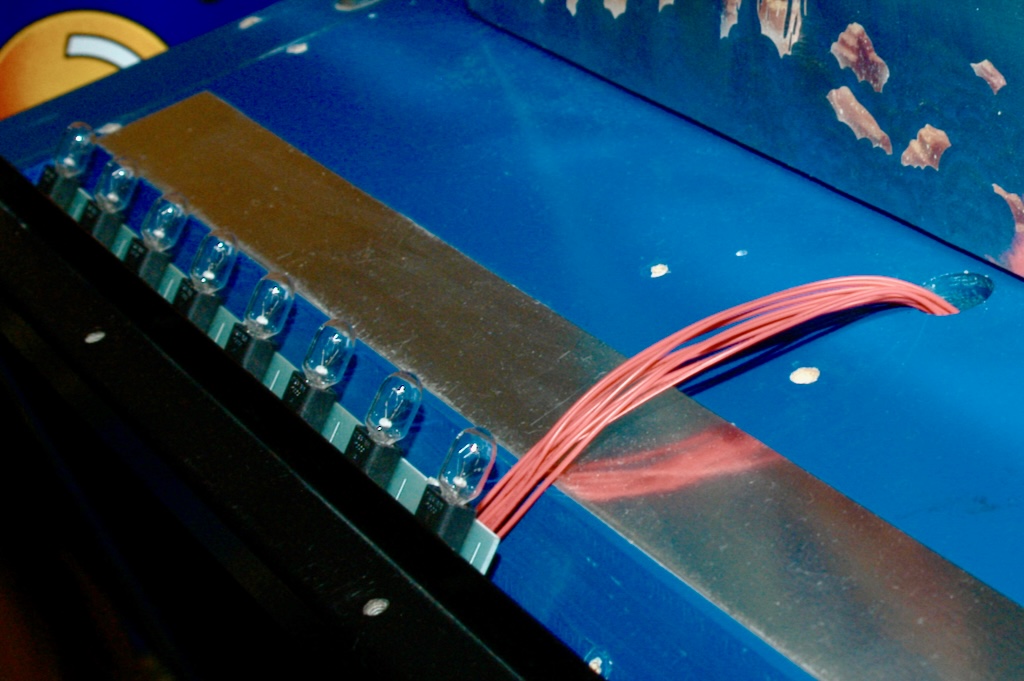
I'm looking for a second 8-light PCB. However, since the 8-light PCB is pretty simple, I might try and make one myself someday. The waterfall effect, even with one 8-light PCB, is pretty good. Finally, I do not have the plastic topper cover, but I don't see any need to spend $$$ on that.
Found Topper 8-light PCB
November 20, 2005
I found a guy who was parting out a White Water and I purchased the missing second 8-light PCB (see above)! I also got the cables that run from the two light PCBs to the driver in the backbox. For authenticity, I replaced my homemade "red" cable with the official part. The picture below shows both 8-light PCBs installed.
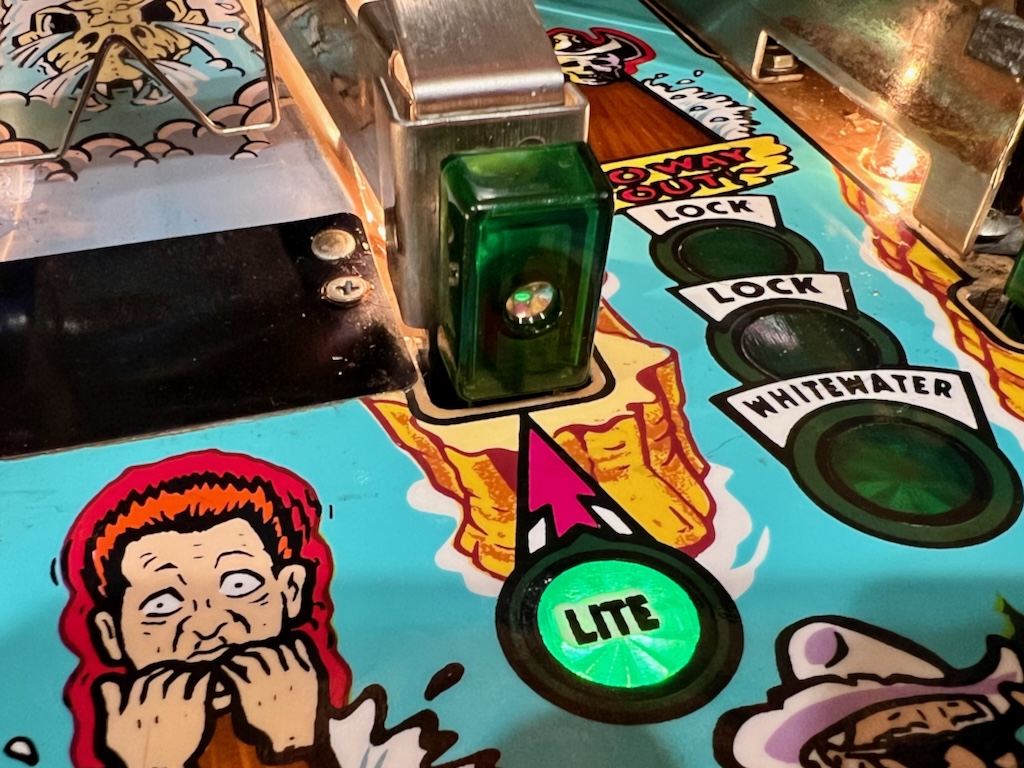
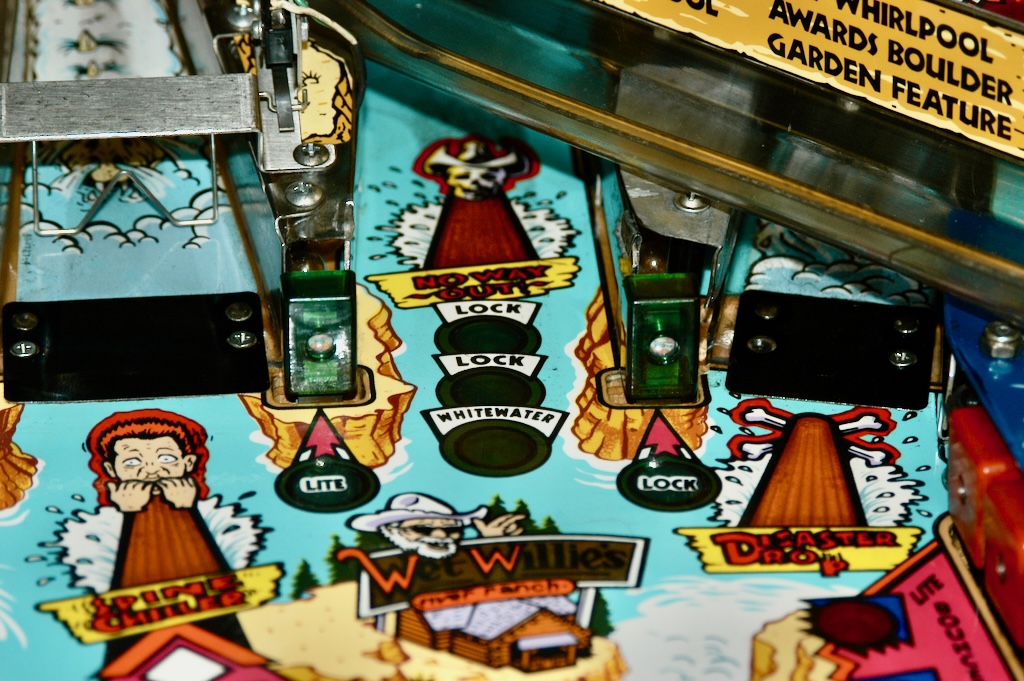
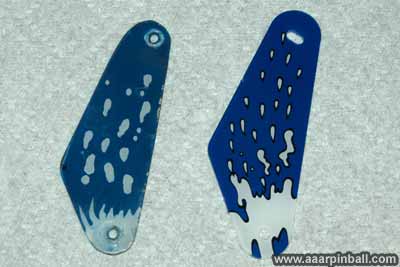
Wrong Lite Lock Targets
July 4, 2005
The Lite Lock targets had been replaced with round red targets. A previous owner had clipped the sides from the round targets to make them look somewhat rectangular. I replaced these mutant targets with the original green rectangle targets. The first picture below shows the mutant targets while the second shows the corrected targets.

Insanity Falls and Whirlpool Sign
July 4, 2005
This sign is connected to a stand by two rivets. The bottom rivet had broken off and the sign would rock back and forth. The first picture below shows the sign, with the faceplate removed. Instead of a rivet, I used a machine screw and nut to hold the sign in place. The second image shows the newly added screw and nut. Now the sign is straight. Finally, the faceplate is attached.
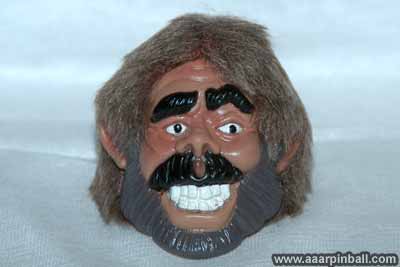
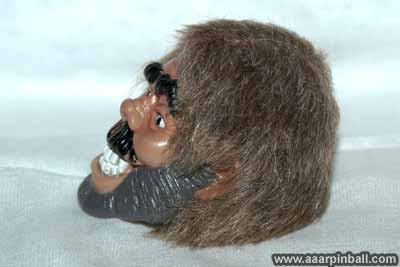
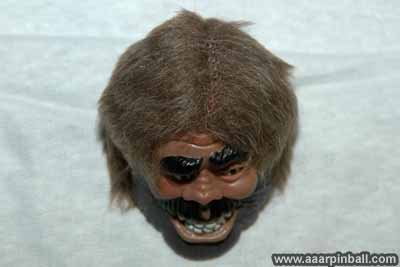
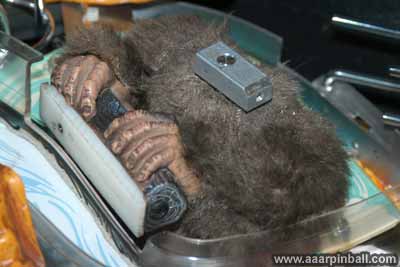
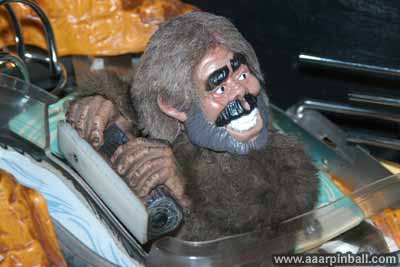
Big Foot
June 28, 2005
Look! Big Foot has no hair!
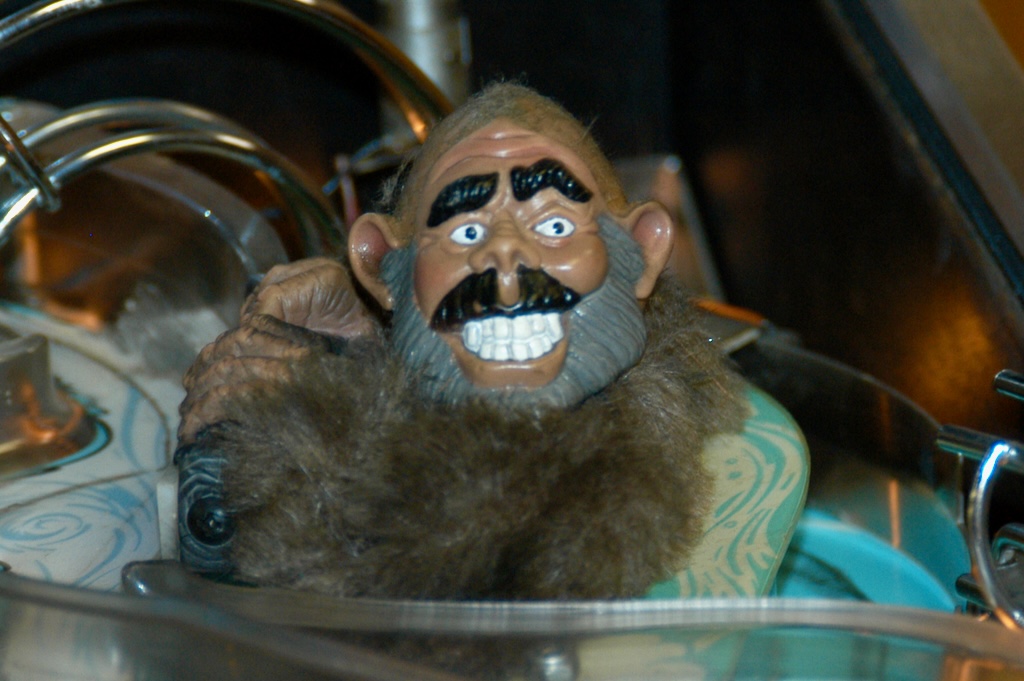
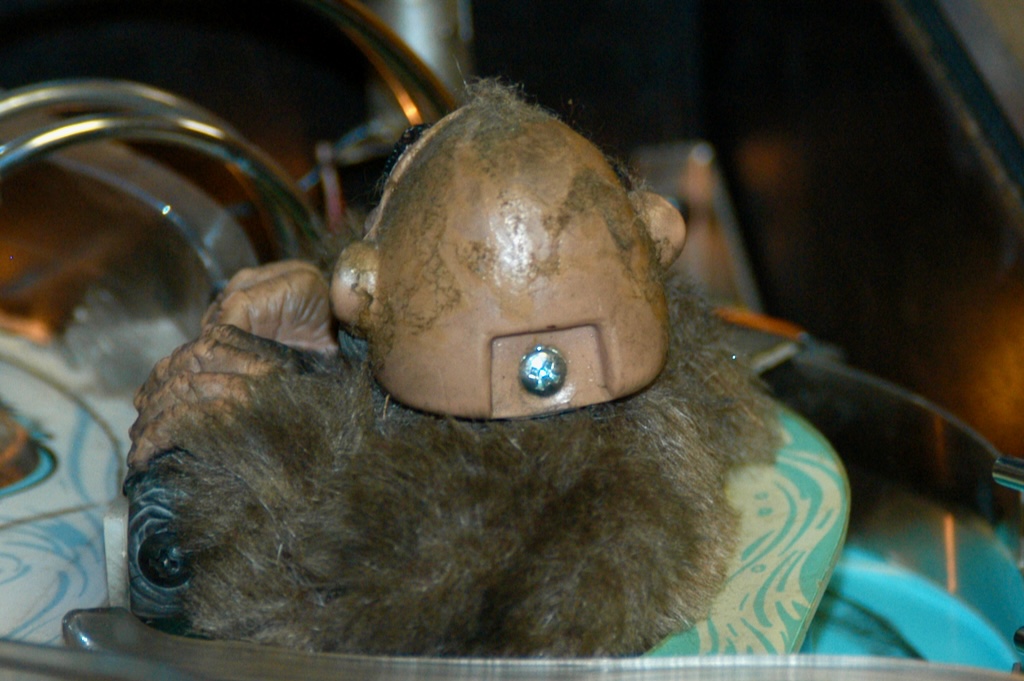
I was able to track down a NOS Big Foot head! Steve from Pinball Resource told me it was the last one they had and that it might very well be the last NOS in the world. Lucky me! Below you will see some pictures of a NOS Big Foot head, followed by Big Foot without a head. Finally, Big Foot is shown all together.
Mylar Removal
Below are pictures of the Mylar removal process. This is the second time I've removed Mylar. One thing I have learned is that the Freeze method works great. I do offer the following tip. Spray the Mylar with the "freeze" and let it sit for 5 or 10 minutes. I've found this to be a lot of effective than simply spraying and then immediately trying to remove the Mylar. Also, if one part of the Mylar does not come off, try another part. For some reason the Mylar down by the flippers did not want to budge. I ended up getting the Mylar by the boulder to come off and worked my way down. Once you have the Mylar coming up, do not forget to keep freeze spraying. If you do not do this enough, the Mylar has a tendency to rip and you might be stuck trying to get an initial part to peel off again.
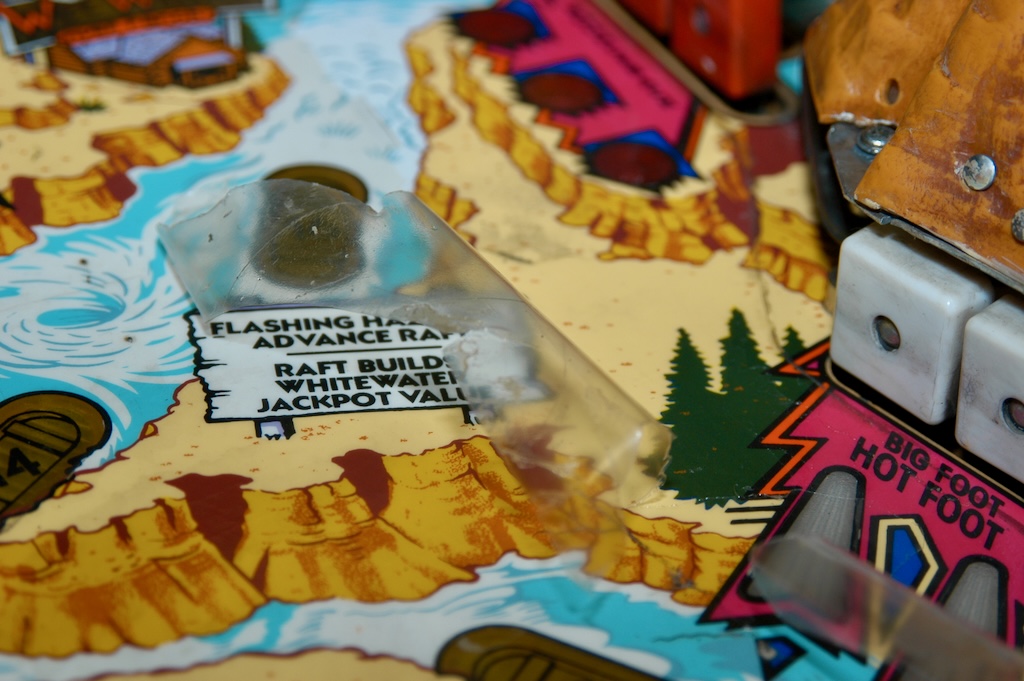
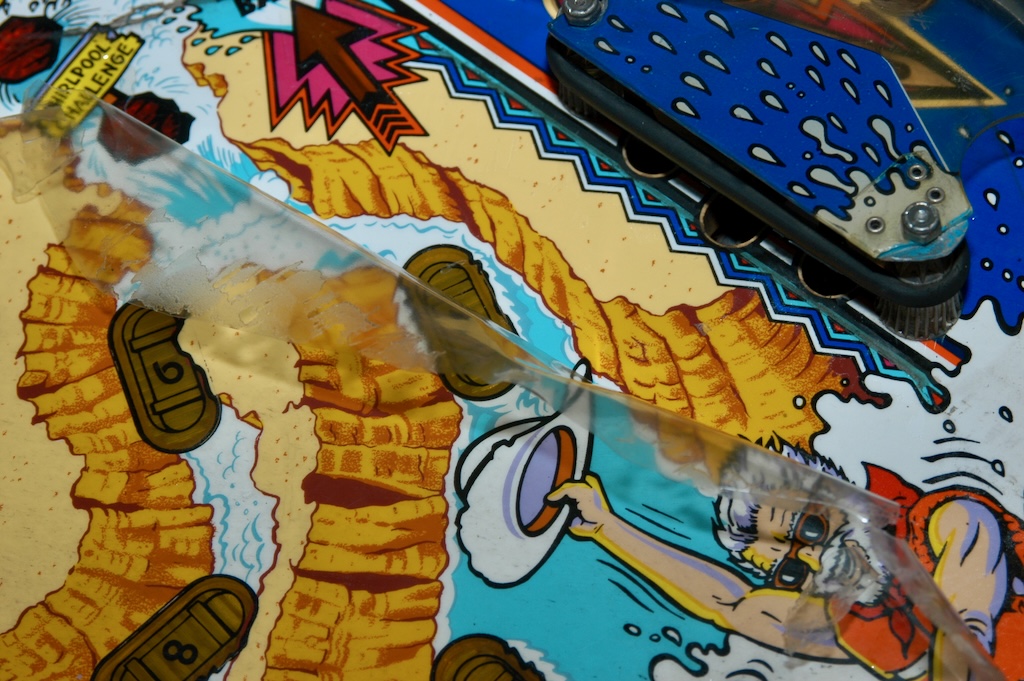
Before and after pictures of Mylar removal
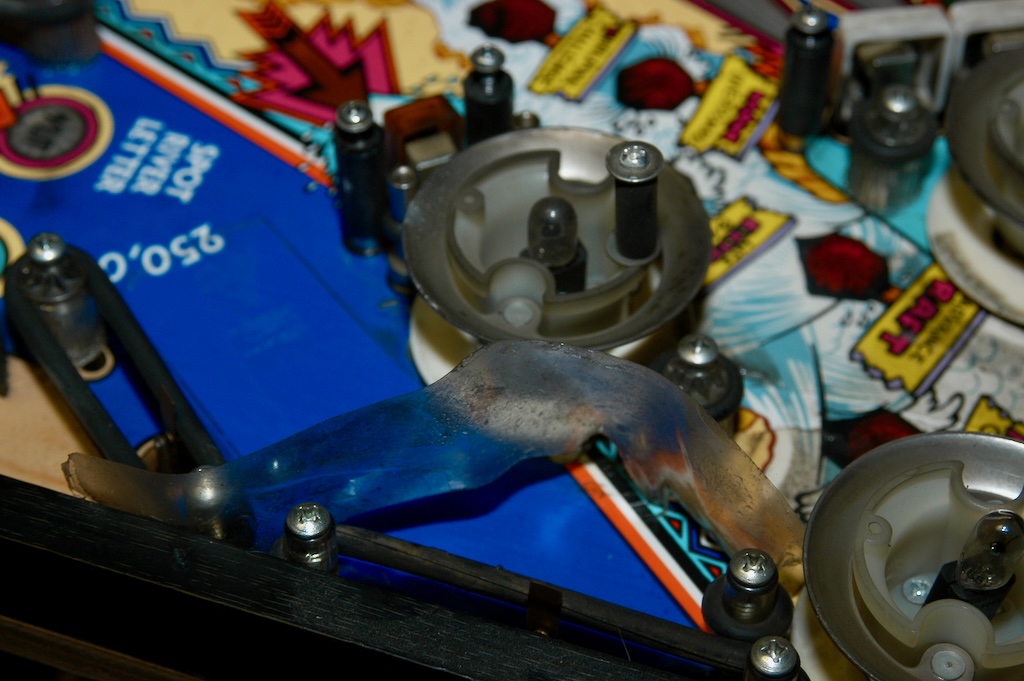
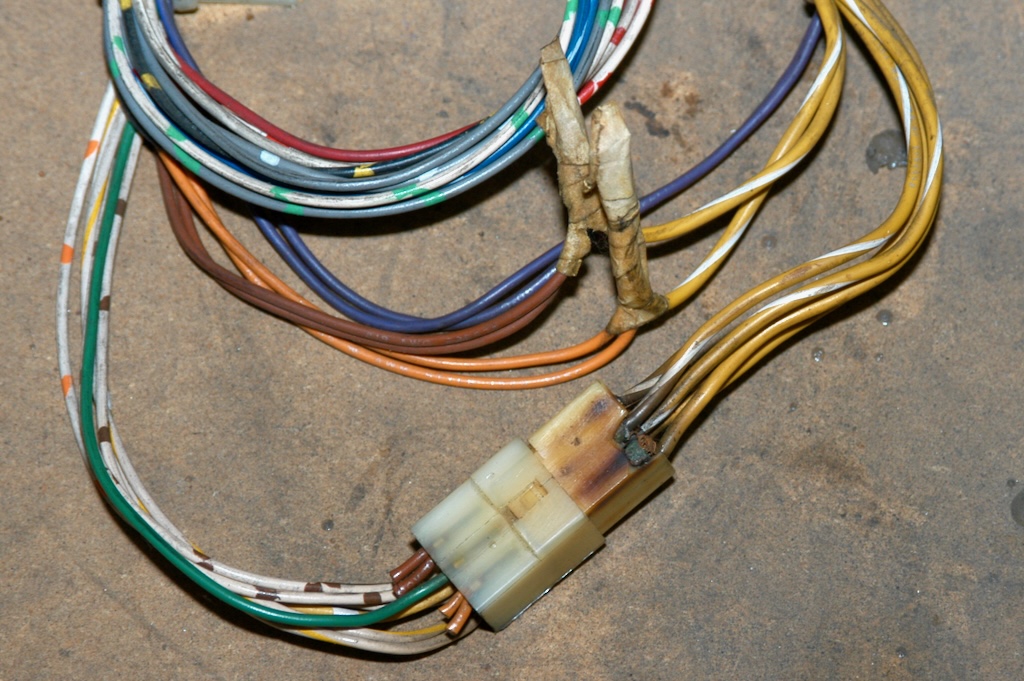
Burnt Transformer Connector
June 28, 2005
The transformer Molex connector was in bad shape. It was burnt. A previous owner had cut and soldered together the two worst wires (and placed masking tape around them). However, several other connectors on the Molex connector were in pretty sad shape. The first picture below show the original connector. The 2nd picture shows my repair job. It is the first Molex connector I have built!

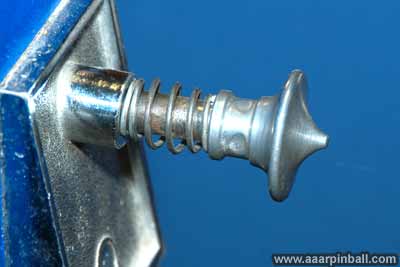
Wrong Plunger
June 28, 2005
My White Water had a strange plunger. It looked old fashion, so I replaced it with the traditional plunger. See the original plunger followed by the new plunger, below.

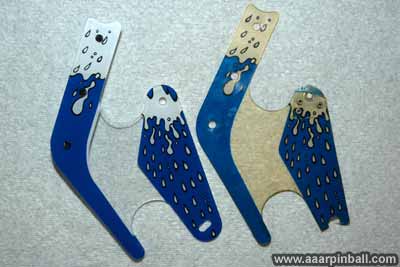
Plastics
June 28, 2005
Some of the plastics were broken and were discolored significantly. Also, one of the plastics appears to be a hand drawn reproduction. You can see the old and new plastics together in the following pictures. As you can tell, in the first picture the plastic on the left is new. In the second picture, the plastic on the right is new.
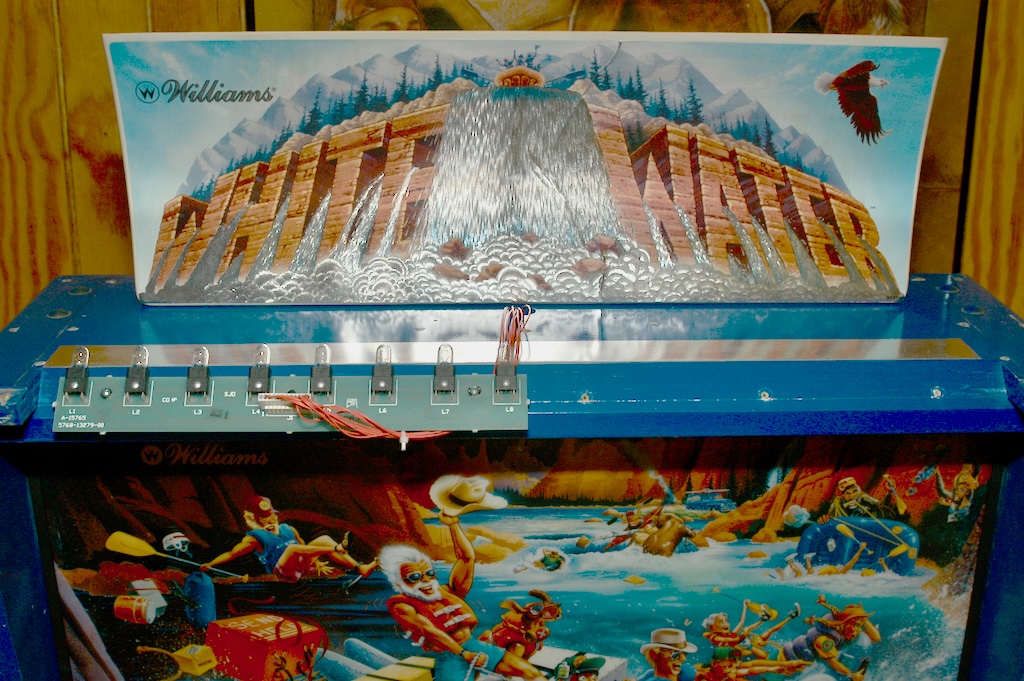
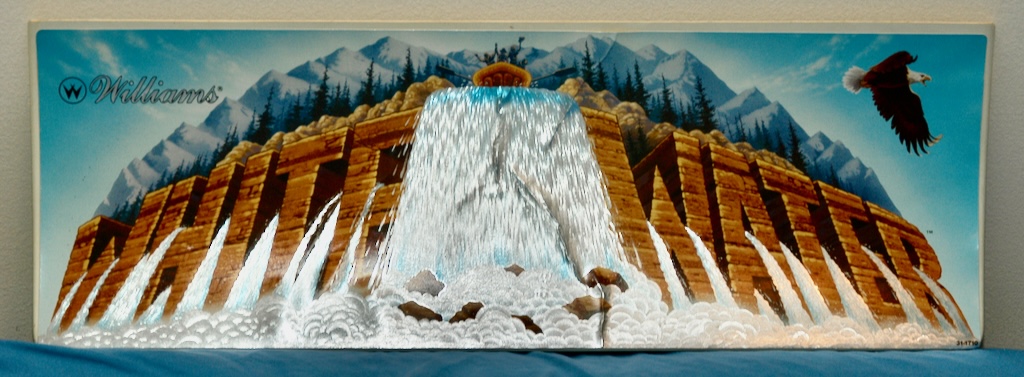
Topper
Here is a picture of the White Water topper.
Unshopped Playfield
Below is an image of the playfield before any cleaning was performed. It looks pretty good. One thing to note, however, is that you absolutely cannot judge the state of a pinball machine from a low resolution image! You simply cannot see the dirt or other small details.
Unshopped Pictures from Seller
April 18, 2024
I found the original pictures provided by the seller and thought they might be interesting to include here. These pictures from from June 17, 2005!