Stern Foo Fighters Pinball
Repairs, Restorations, Tweaks and Insights
Introduction
April 12, 2024
When I first heard about Stern's Foo Fighters pinball, the theme did nothing for me. I couldn't think of any Foo Fighters songs. I eventually looked up their songs and was like "oh! I remember this song from the 90s. I never knew who sang it."
I'm always willing to put theme aside and try a game. I had that opportunity at a pinball show and was immediately hooked. I was hooked to the game play -- as with most shows, I couldn't hear any of the audio. Kind of funny in retrospect, given it's a music based pin. What did I like about Foo Fighters back then as well as what I've learned since?
- The ball moves with grace in unexpected and unique directions
- Great flow
- Theme is integrated very well in a campy and fun manner
- Turns out Foo Fighters music is great for pinball background music
- Lots of fun combo shots
- Callouts are (generally) very well done
- 3-Dimensional alien sculpture looks great and interacts with balls
- Upper playfield adds variation to the game
- I like the artwork, it's an attractive game
I got my Foo Fighters Premium from a guy who wanted to upgrade to the Limited Edition. It's in perfect condition so I don't expect to write much repair information. However, I'm sure there will be information about other enhancements or improvements.
STFU Fan Modification
April 7, 2024
The fan used in Foo Fighter's power supply is really loud. It's not a joke when I tell people that I thought a leaf power was running, the first time I heard it. This is not only an issue with Foo Fighters, it's an issue for all Stern Spike 2 games. There's a pretty well known kit you can get to replace the original fan, but that requires opening up the power supply and cutting wires out of adhesive goop. It also requires cutting the "warranty void if broken" seal, which may or may not bother people. I did this solution for Godzilla and, while it's fine, I would not do it again. I wanted another approach for this game.
Luckily there's a DIY approach which is much better than the well known option that can be purchased. It involves attaching a quality (aka, quiet) fan on the outside of the Stern Spike 2 power supply using a 3D printed adaptor. This quiet fan pulls the air though the power supply, keeping the temperature down such that the original fan never turns out.
This approach requires the following:
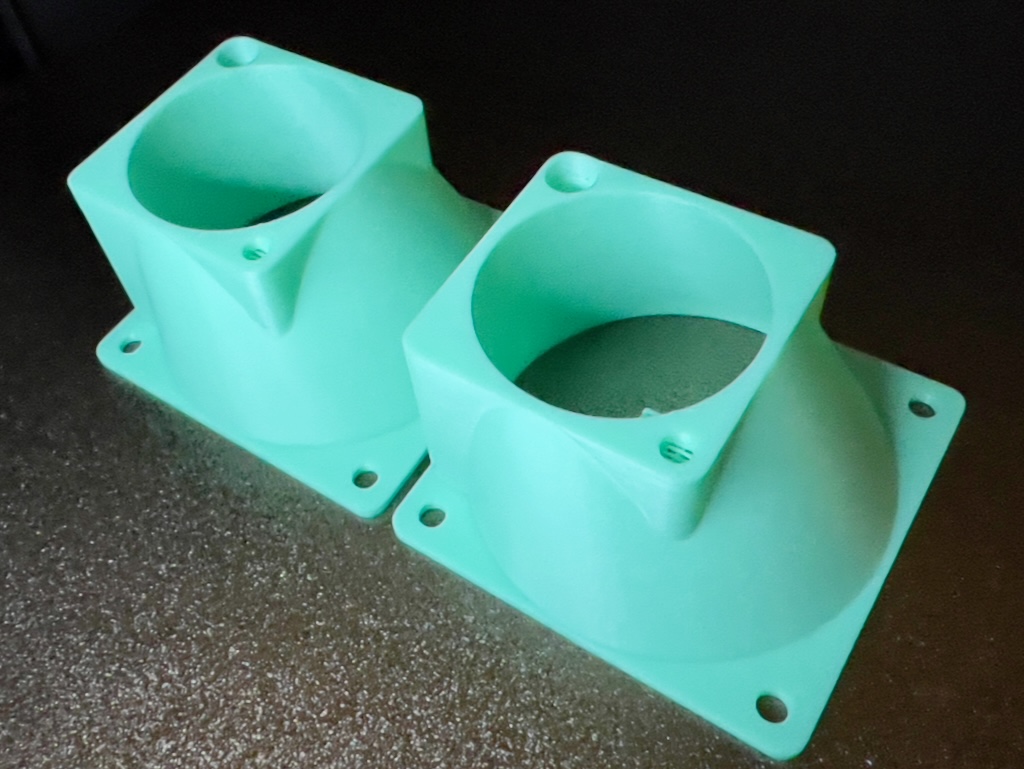
- 3D print the adaptor from Thingverse
- Purchase a quality fan that works with 12V (Noctua NF-A6x25 FLX is recommended)
- Build an adaptor cable to power the fan from the Stern Power Distribution Board
Below is a picture of two of the 40mm to 60mm adaptors directly on the 3D printer plate.
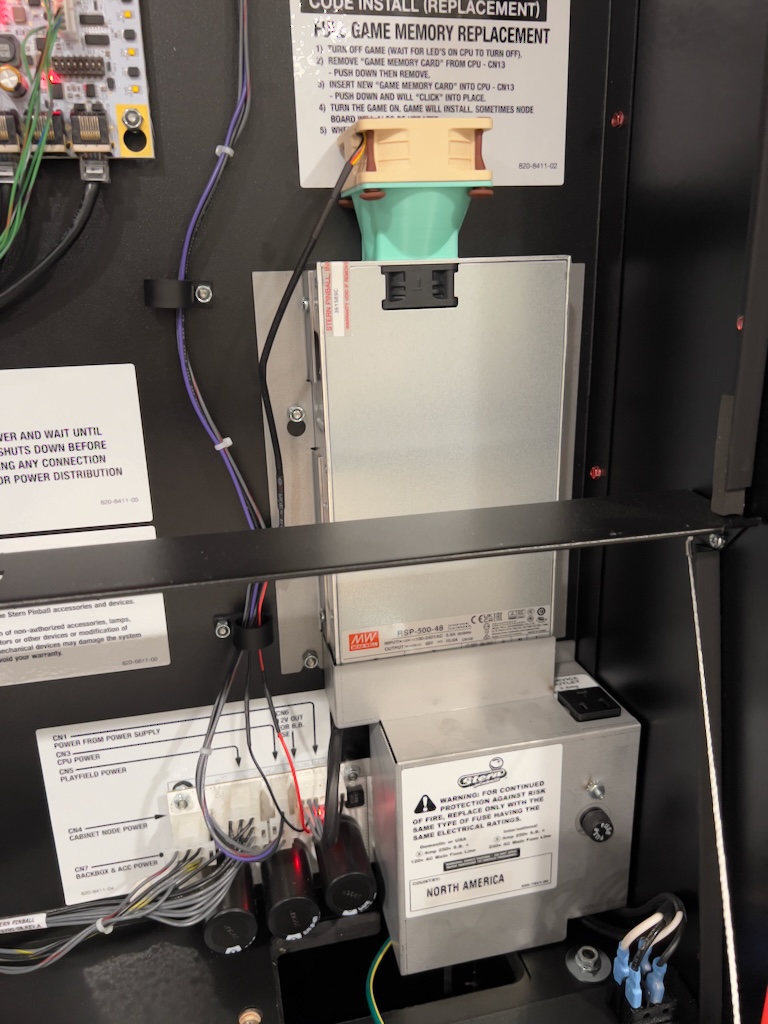
Below you can see the Noctua fan attached to the 3D printed adaptor, which itself is attached to the Stern power supply.
.jpeg)
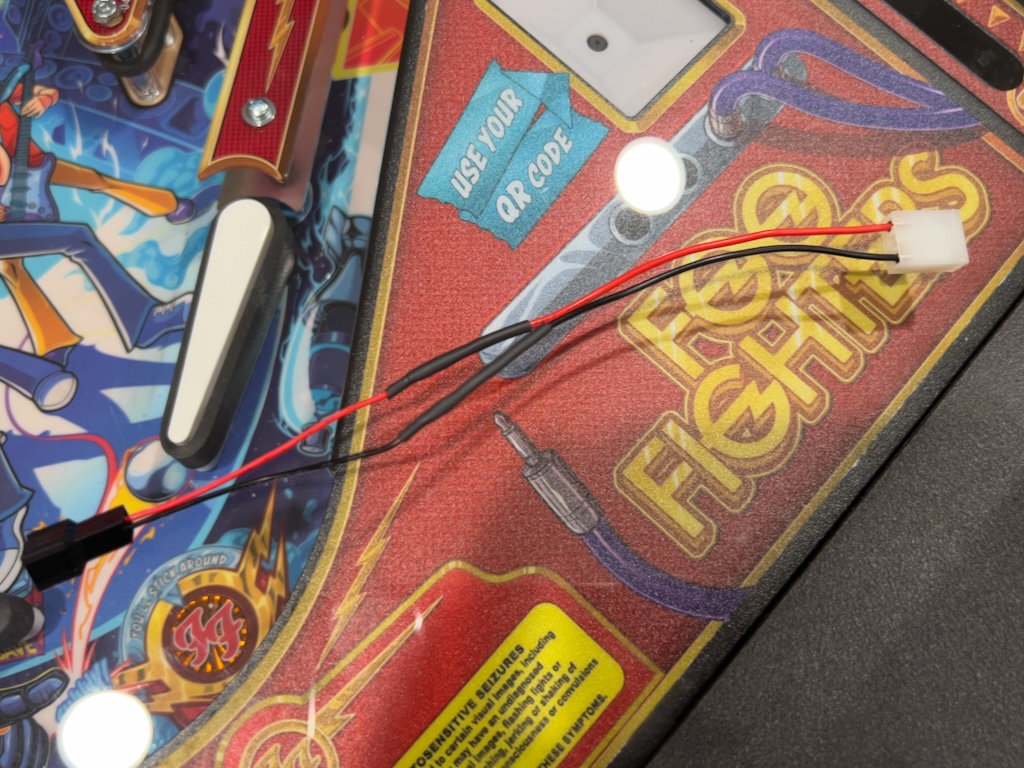
The next picture shows the adaptor cable I made. It is a 0.156 Molex 3 pin female to a "3 pin fan" female connector. The Noctua fan comes with some adaptor cables with the appropriate "3 pin fan" connector. I cut off the other end of one of these cables and spliced in my 0.156 3-pin Molex.
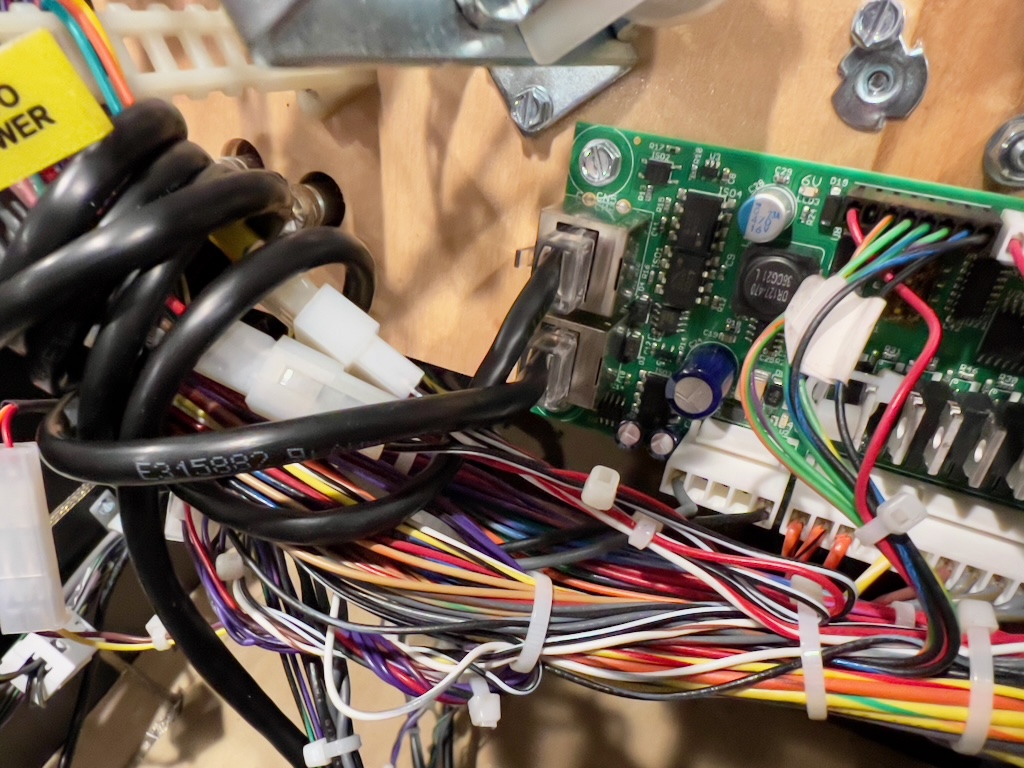
Finally, the entire solution is pictured below. The fan is connected to CN6 on the Power Distribution Board.
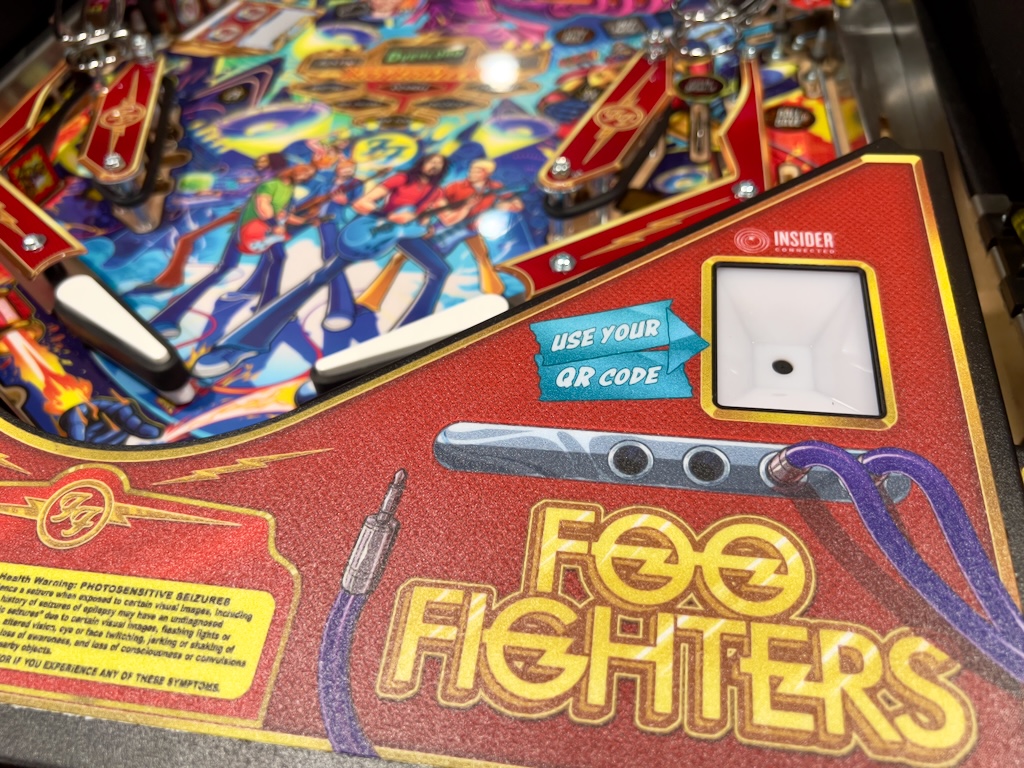
Installing Headphone Jack
April 7, 2024
It's unfortunate that Stern does not include a headphone jack on their premium models by default. Stern offers an "upgrade" that adds a headphone jack to the coin door area for about $120. It is part number 502-7008-00. That's pretty steep, IMHO, but this is pinball where everything is expensive. Pinball Life offer their own version of the speaker jack and it costs about half as much. I went with that. It's part PBL-600-0346-00.
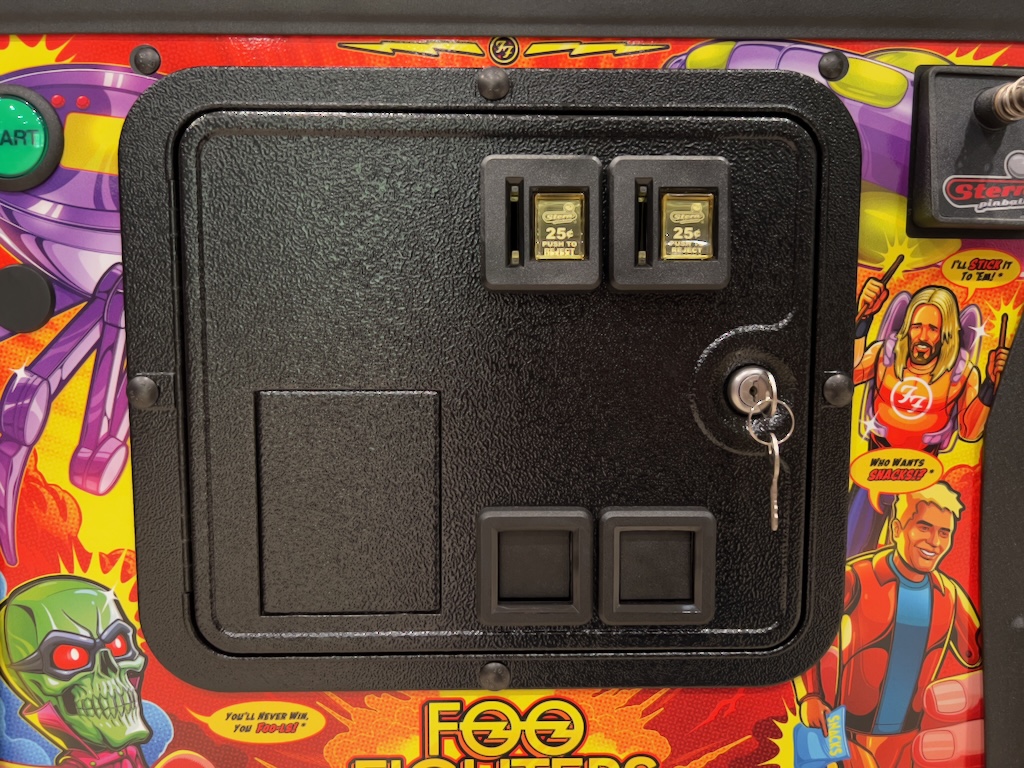
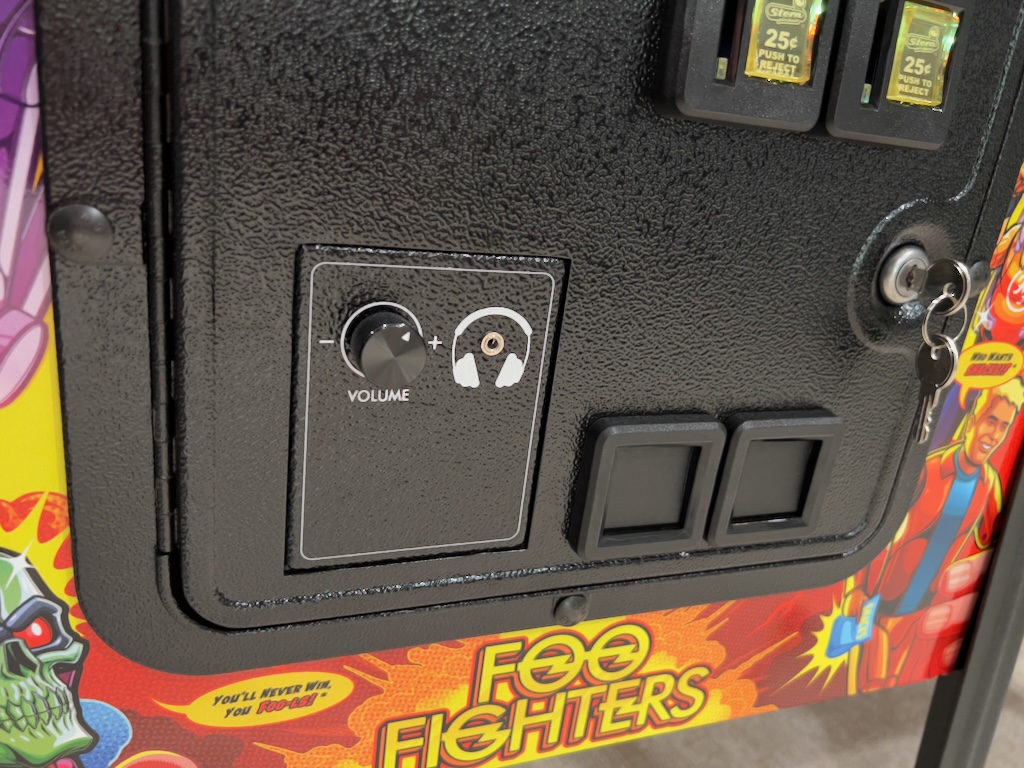
Below is a picture of the Foo Fighter Premium coin door. The rectangular area on the bottom left is where the headphone jack gets installed. This rectangle is an easily removable plate and is replaced with a plate containing the headphone jack and a volume knob.
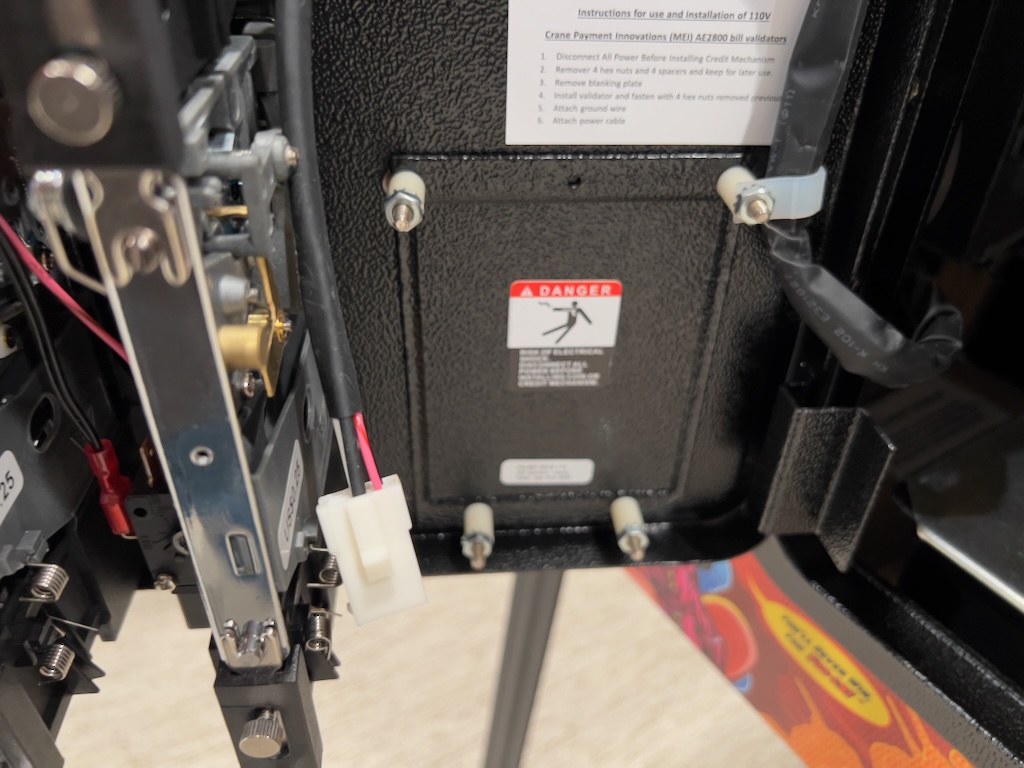
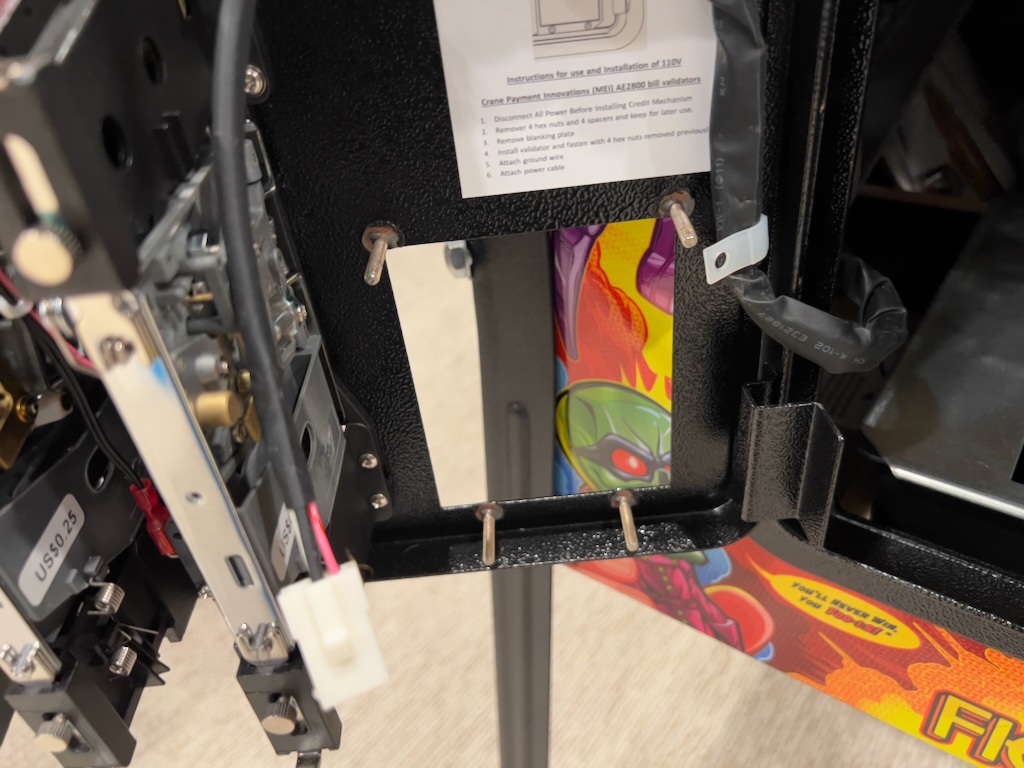
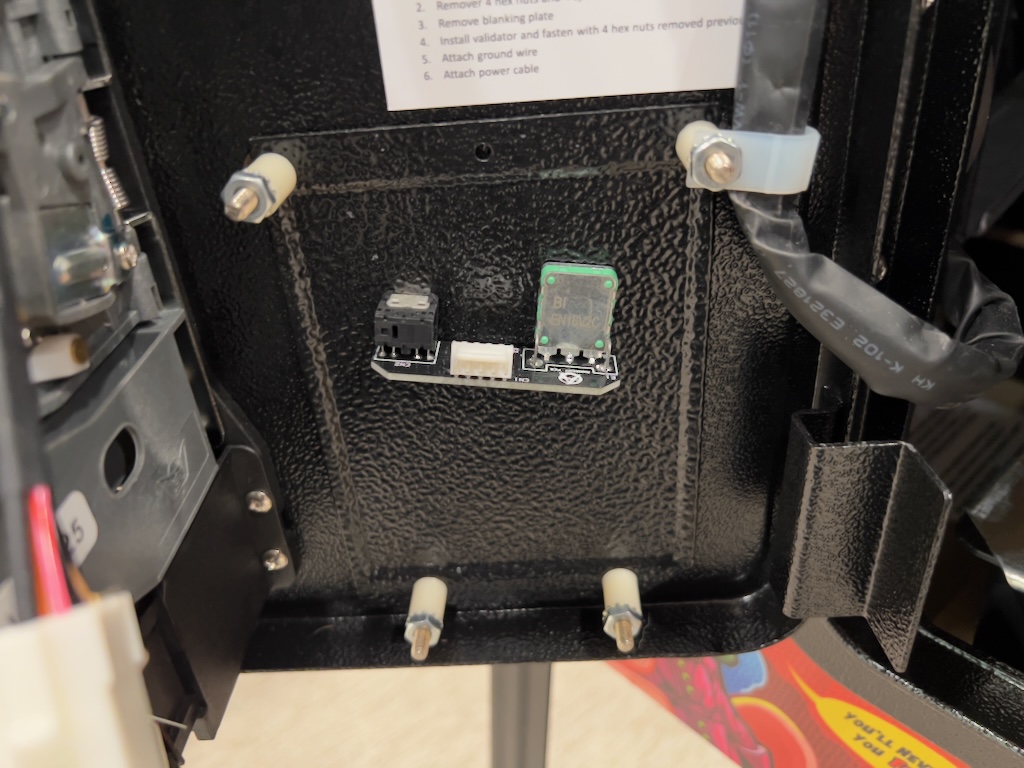
Here you can see the inside of the coin door and the plate that is held by 4 hex nuts. This is followed by a picture with the plate removed.
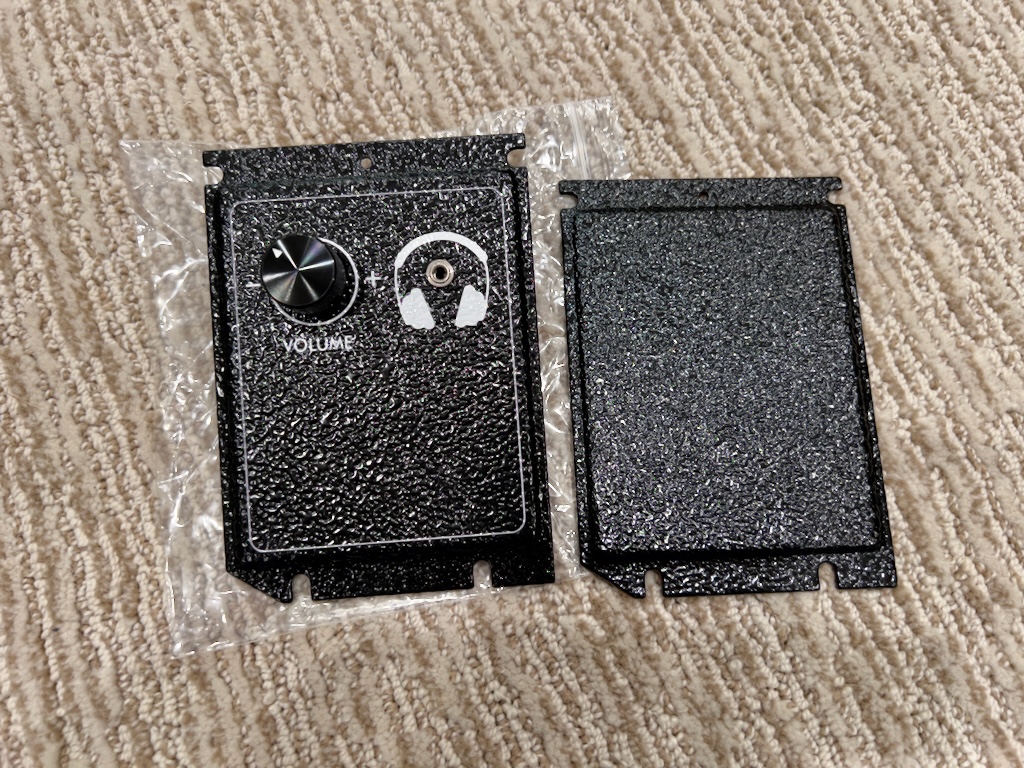
The new plate and the original plate are shown side-by-side below.
The back of the Pinball Life headphone plate has a small circuit board. This board includes the headphone jack mechanism and and encoded, which is attached to the volume knob. Finally there is a small connector which will eventually attach to a cable going all the way back to the CPU board in the backbox.
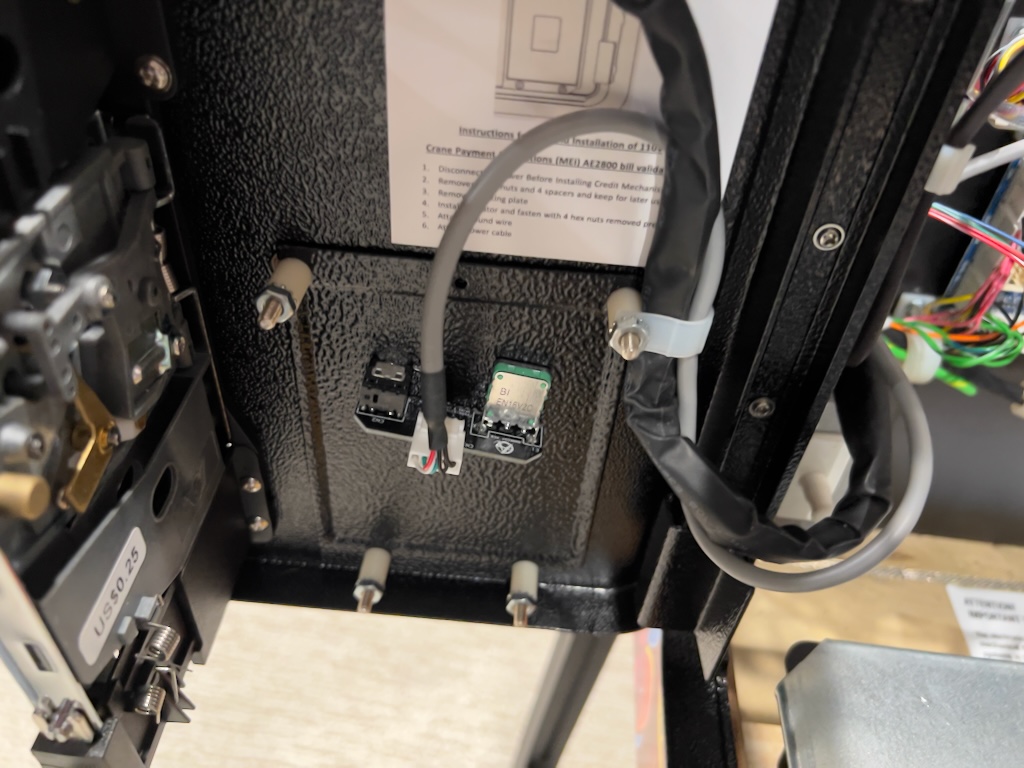
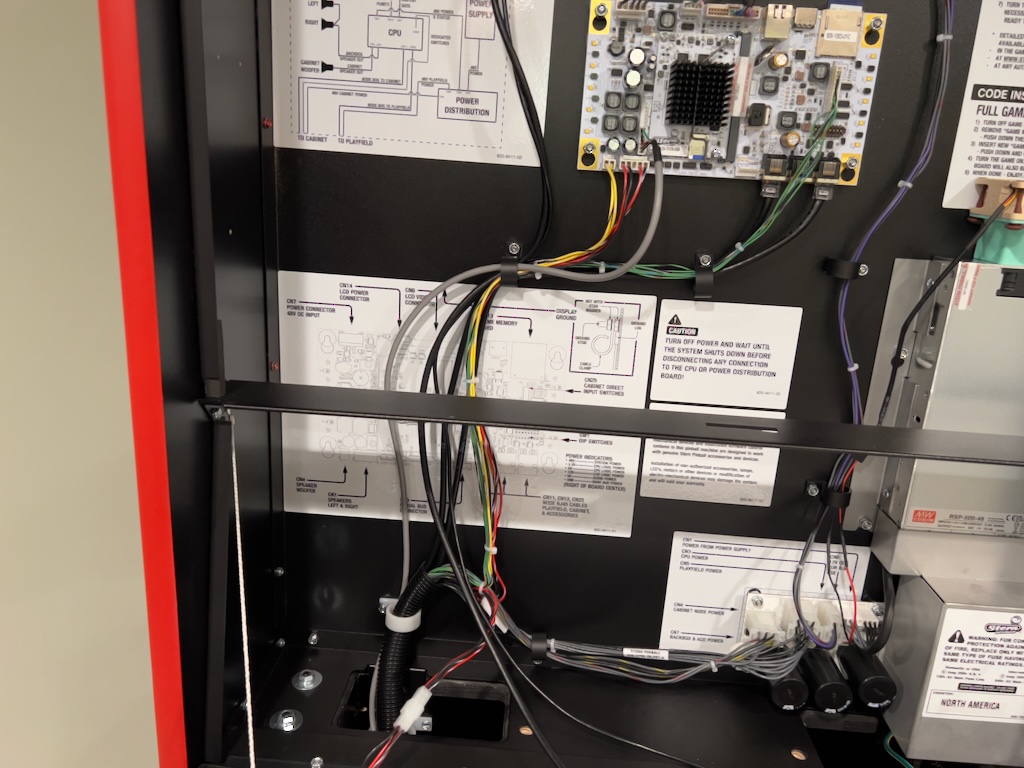
Below you can see the cable has been attached and is routed next to the existing coin door cable. The 2nd picture shows the headphone wiring as it enters the cabinet and is routed toward the backbox. The 3rd picture shows the cable routed to the backbox and connected to CN3 on the CPU board.

After some investigation, I please pleased to determine that the headphone functionality does not send the audio through a pot (potentiometer) to adjust the volume. The headphone board uses an encoder instead of a pot (potentiometer). This means that instead of adjusting the voltage (by increasing or decreasing resistance), the board sends messages to the CPU saying "I've been turned left" or "I've been turned right". The software then interprets these signals and adjusts the DACS to amplify (or attenuate) the signal.
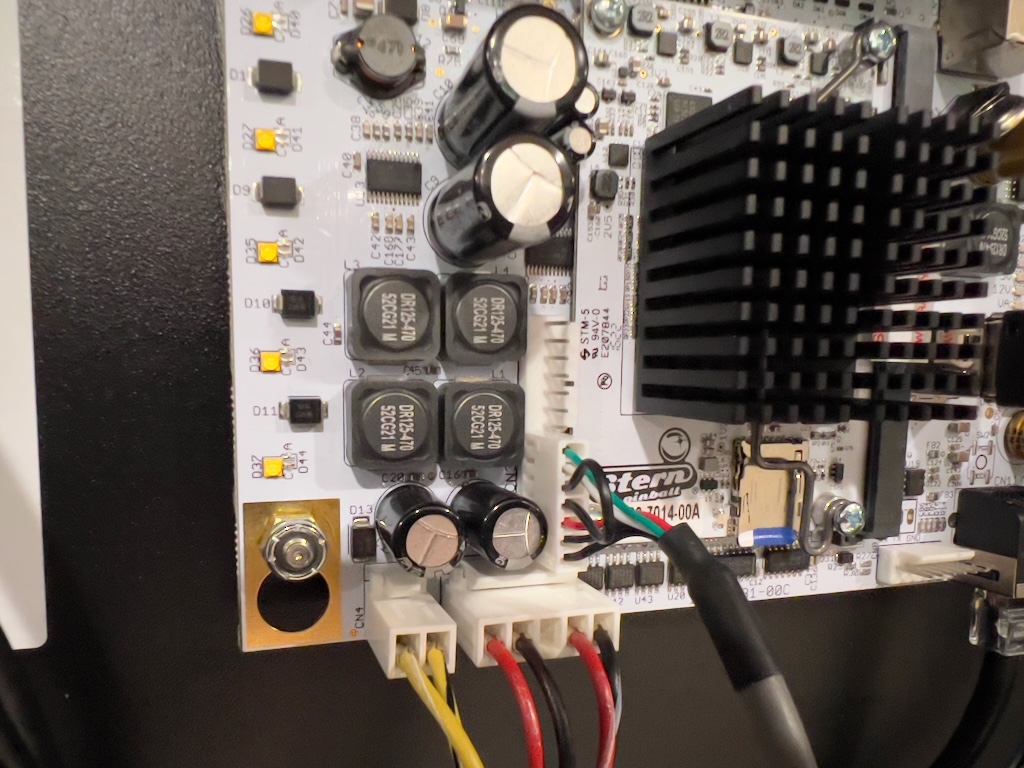
For good measure, a close-up of the CPU board with the headphone wire is shown below.
It looks pretty good from the outside! Also, IMHO, the knob has a good feel. There are small friction points (formally called detents) you can feel that correlate to the volume increasing or decreasing. The final product is pictured below.
Expression Lighting Installation
April 11, 2024
The Limited Edition (LE) of Foo Fighters comes with "Expression Lighting". Expression lighting is an array of 24 RGB lights on each side of the cabinet. They are inserted into the upper portion of the cabinet, above the playfield. The RGB lights are individually controlled and augment the playfield lighting. The expression lighting also includes side art, which is art for the inside of the cabinet. Instead of a black wall up against the side of the playfield, art exists.
The following offers an overview of the expression lighting installation. It's not intended to replace the instructions, but perhaps it will give you an idea of what's involved.
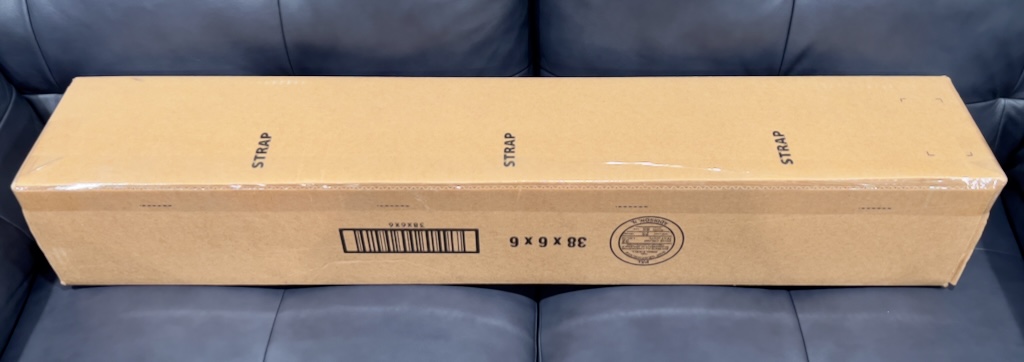
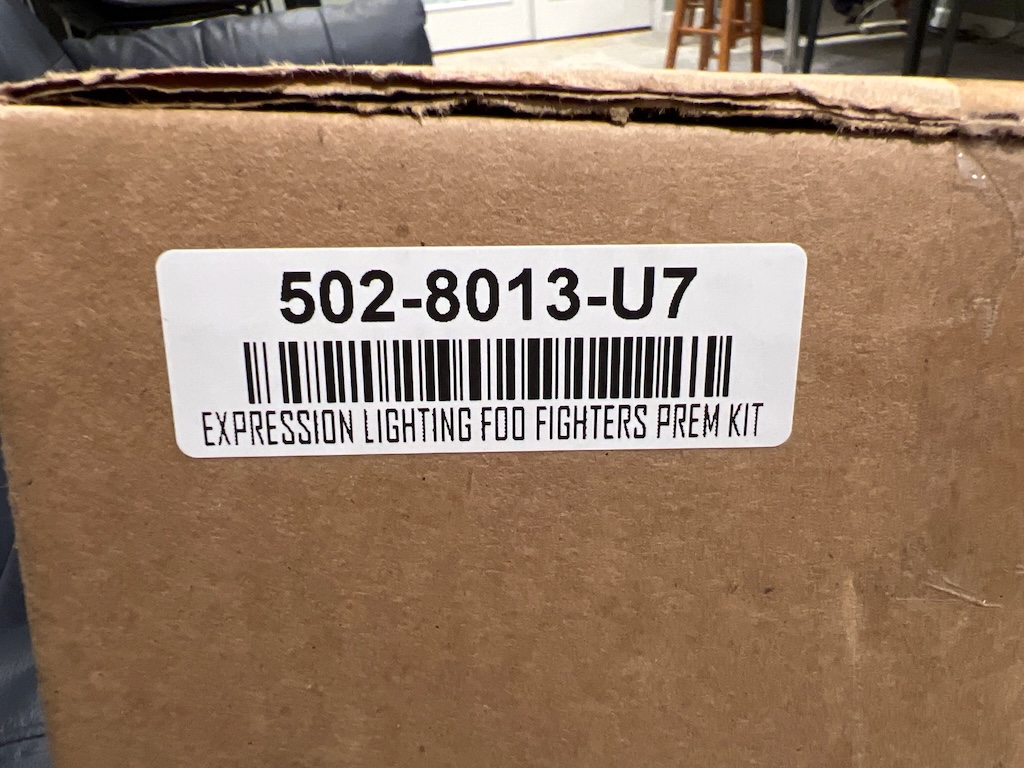
Stern released a kit which offers the expression lighting for Premium versions of Foo Fighters. It is part number 502-8013-U7 and officially titled "EXPRESSION LIGHTING FOO FIGHTERS PREM KIT". It comes in a boring cardboard box shown below.
Some overall notes about the process:
- There's more to this kit than I expected. It's well built. I would not recommend it for "Joe Blow" -- you should have some experience. It's Not hard, but it does not hold your hand.
- The manual is poor to meh, at best. It's confusing in parts, missing pictures that I feel would be helpful, and the author(s) couldn't be bothered to take pictures during the actual install. By this I mean that, for example, at a step when you should have 2 connectors attached to a board, it will show 4 connectors attached (which occur later in the process).
- TIP: There are 3 kinds of ferrite connectors in the package and 2 of them look very similar! There are regular white square one, slightly bigger white square one, and round one. Figure out the difference between "18" and "11" (the two white square ones).
- Observation: OMG Stern has 12 ferrite clamps in this kit! It's kind of odd because there are none used in the original pinball. I'm sure Stern wouldn't pay the cost of including them if not needed -- but it's certainly interesting.
- When installing the left decal, do not be surprised to find a post coming from the back of the cabinet that gets in the way! Look at the back left before you start to avoid a surprise.
- There are extra parts. I had 1 extra round ferrite, some screws (same ones that hold the EL lights in) and 2 twisty ties.
- Before installing the new node board, ensure the dip switches are set correctly! The manual says to check them. Mine were not correct.
- At first power up, do not freak out! It takes a long time for the backbox lights to come on. In my case it upgraded the new node board's firmware first.
The instructions do not state this, but you need to remove the playfield. This is technically not hard, and depending on your height, strength, etc. you may be able to do it yourself. I did it myself but recommend a helper.
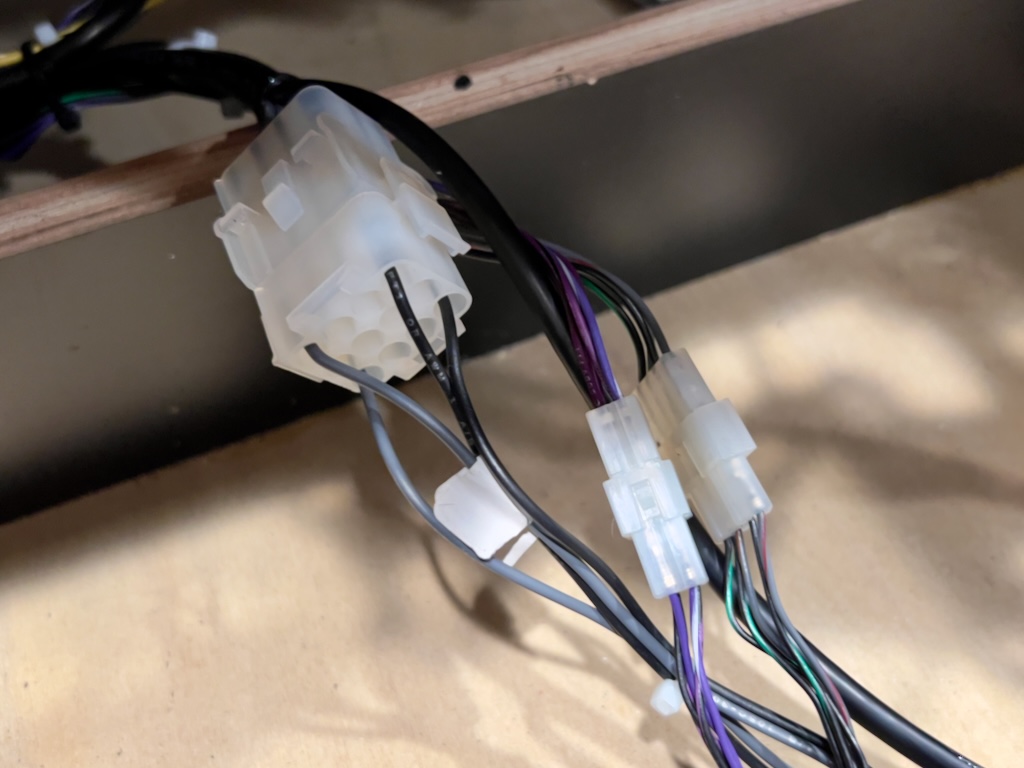
The playfield is connected to the cabinet by only 4 connections, 3 classic connectors and a data cable. The first picture below shows the classic connectors and the second shows the data cable (it's the one on the bottom connector).
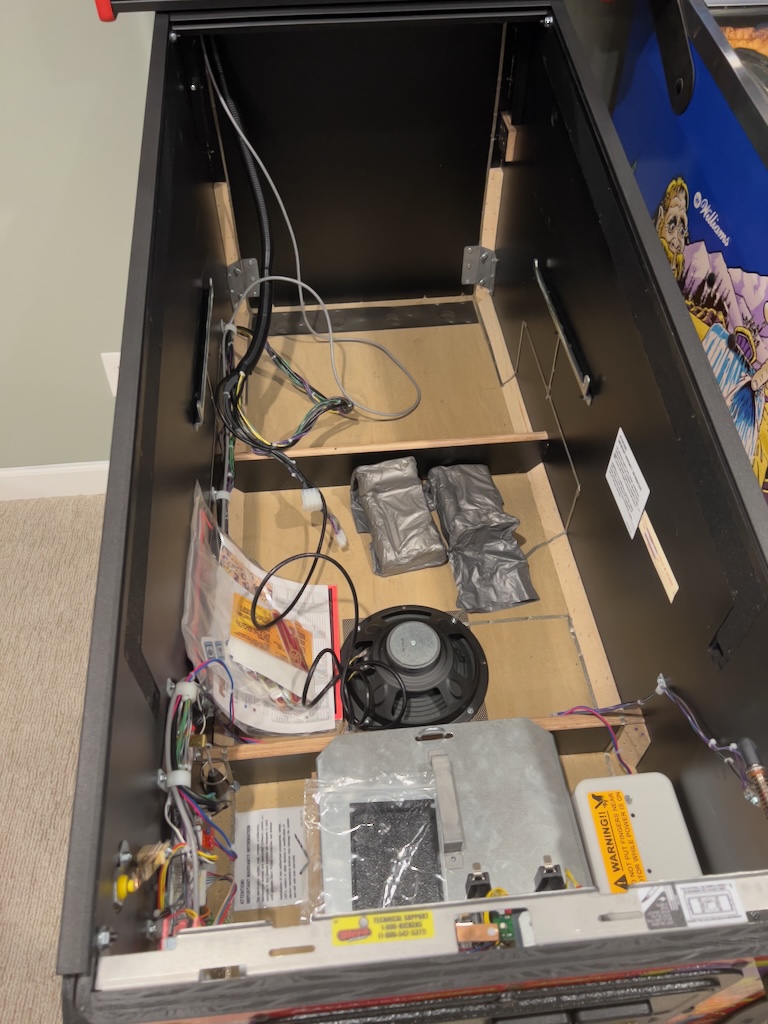
The next 2 pictures show the playfield removed from the cabinet and the empty cabinet.

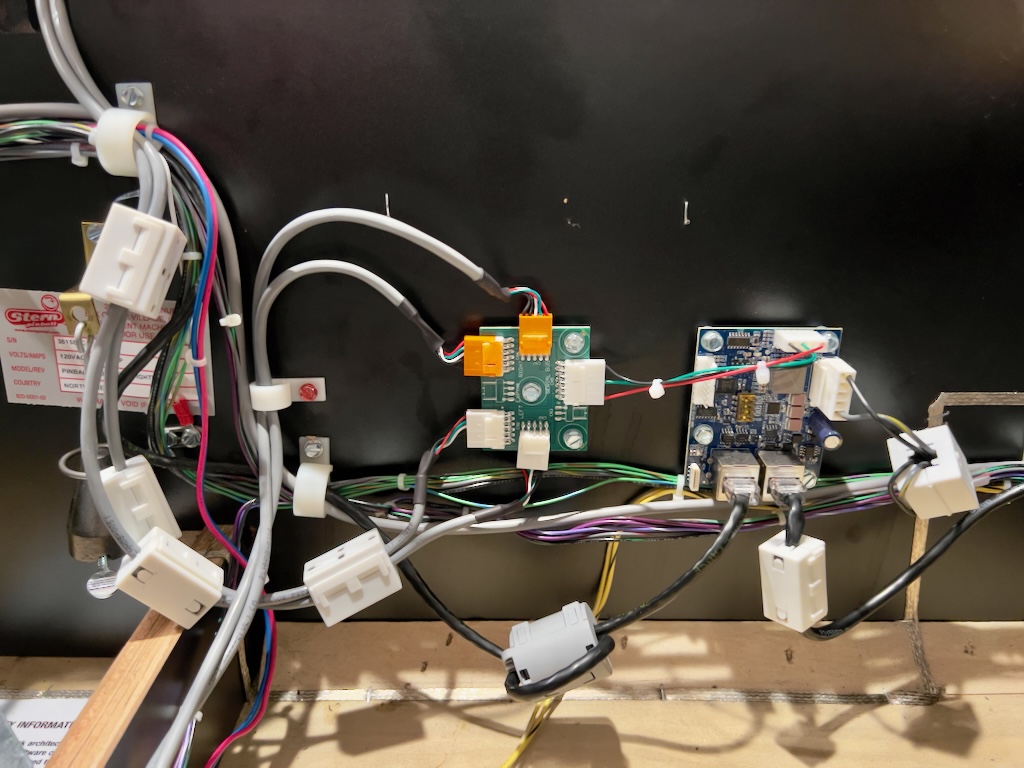
The kit requires installing a new node board and an interconnect board. These are shown below with all the connections attached (as well as all the ferrite clamps). These boards go exactly where Stern staples the "goodie bag", so that will need to be removed.
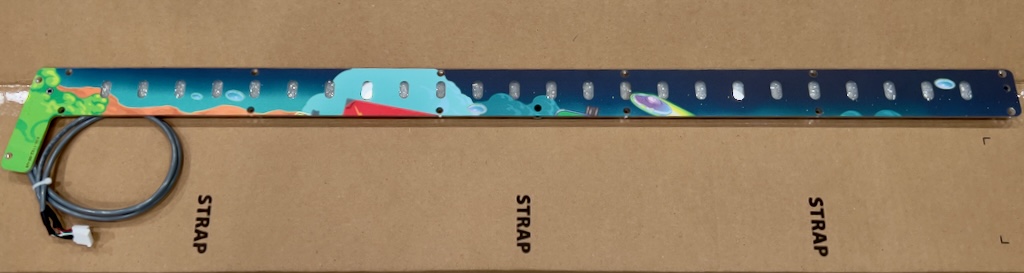
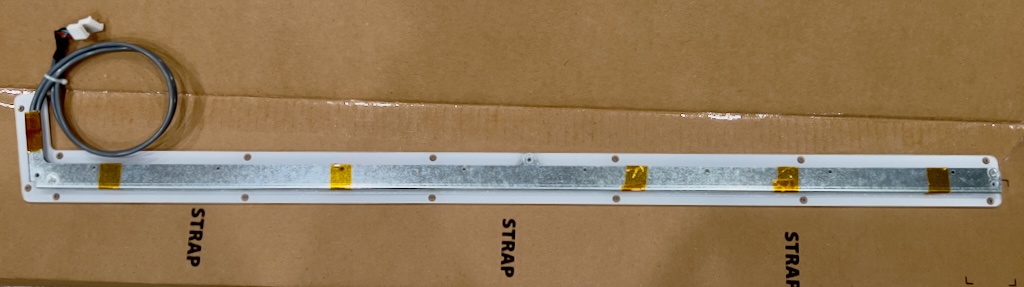
The expression lights are well made and sturdy. The front and back are pictured below.
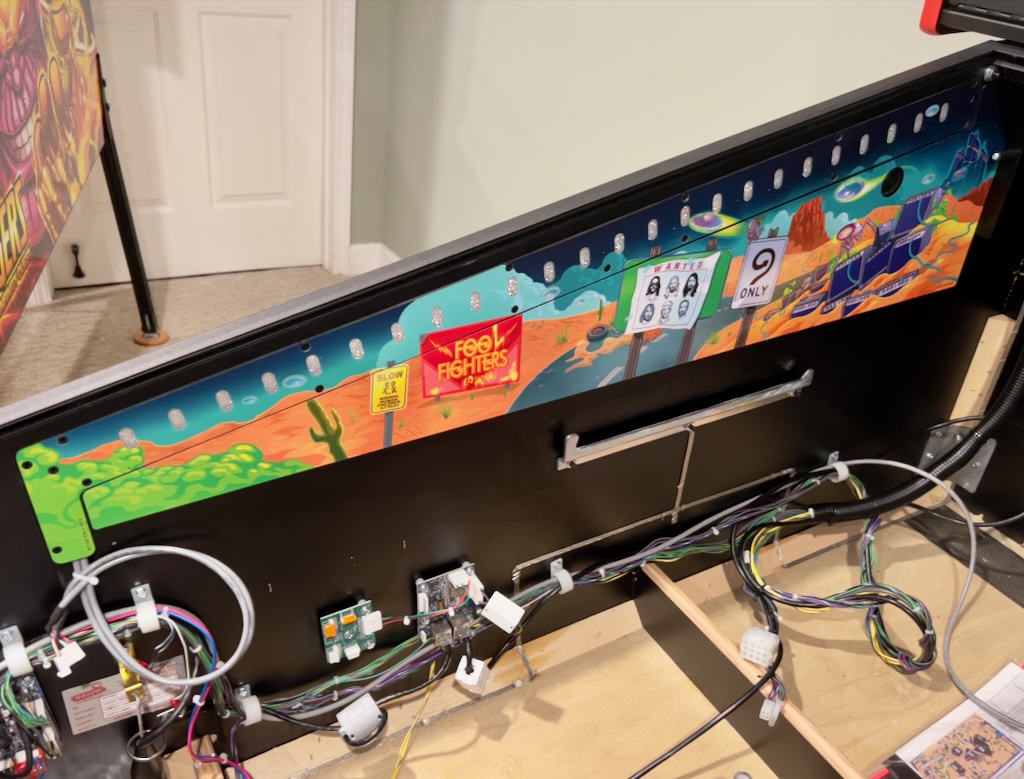
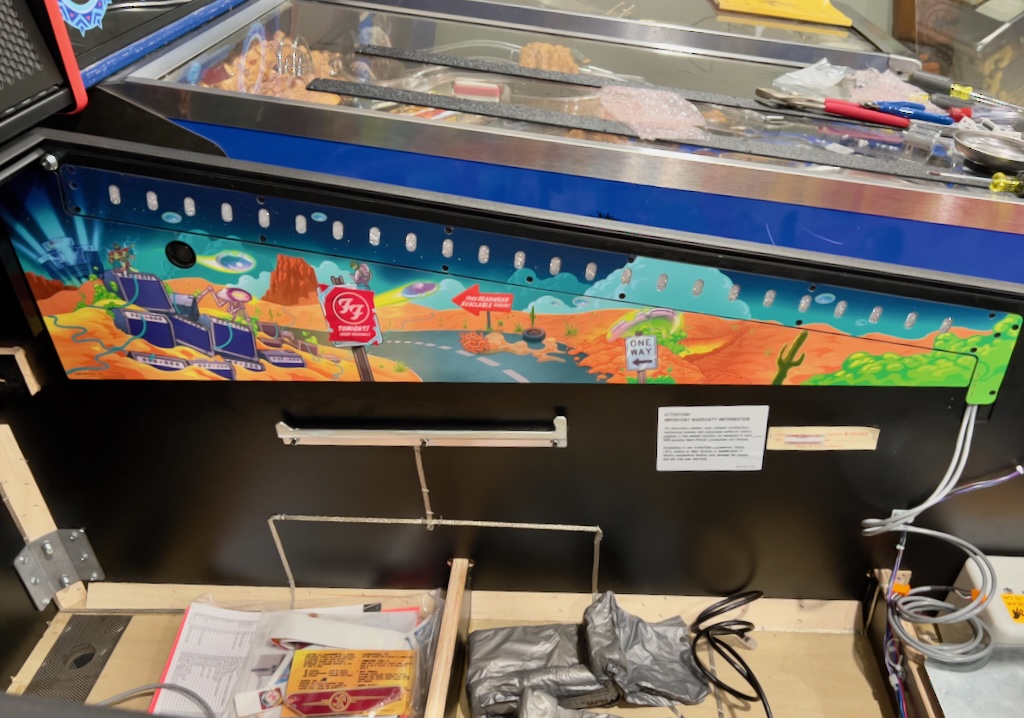
The art blades are installed separately from the expression lighting. The completed installation is shown below for the left and right cabinet sides.
After installation, there's no way (that I know) to check everything is good without putting the playfield back in. That's a bit frustrating because it's a pain. Alas, I put the playfield back in and powered up the game... And the backglass light didn't come up. It didn't come on for what seemed like a LONG time. The good news is that the backglass light eventually did turn on, and everything worked perfectly, only after the game noticed the new node board and spent time updating its firmware.
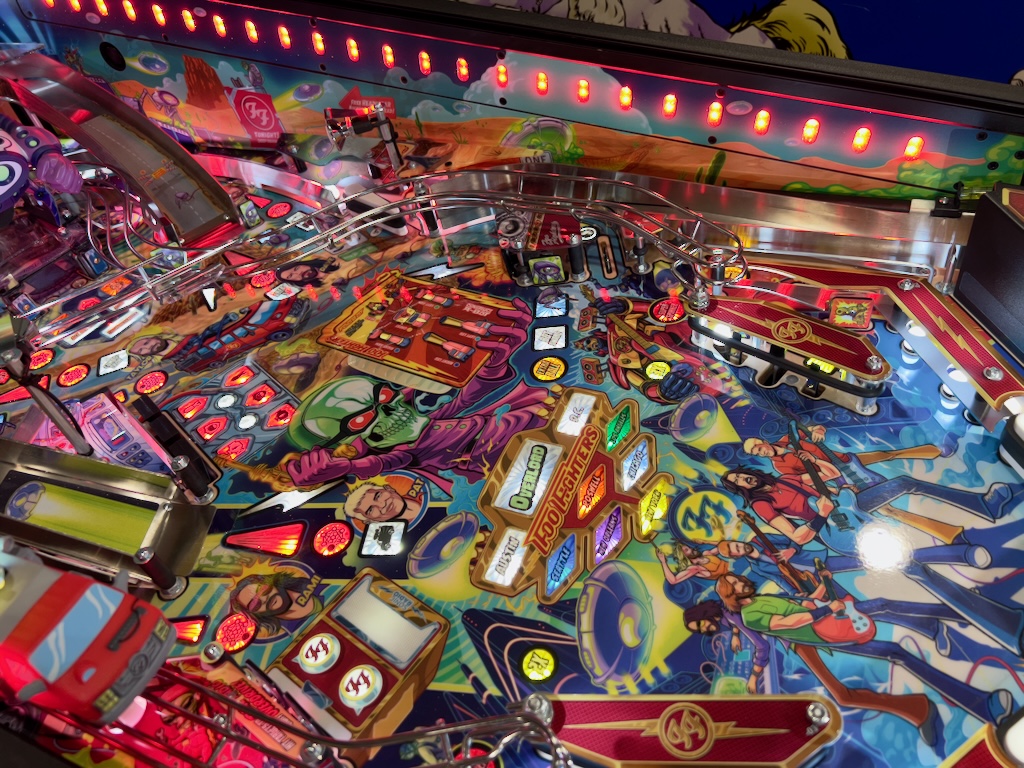
With the playfield back in the cabinet, a picture of the final product is shown below.
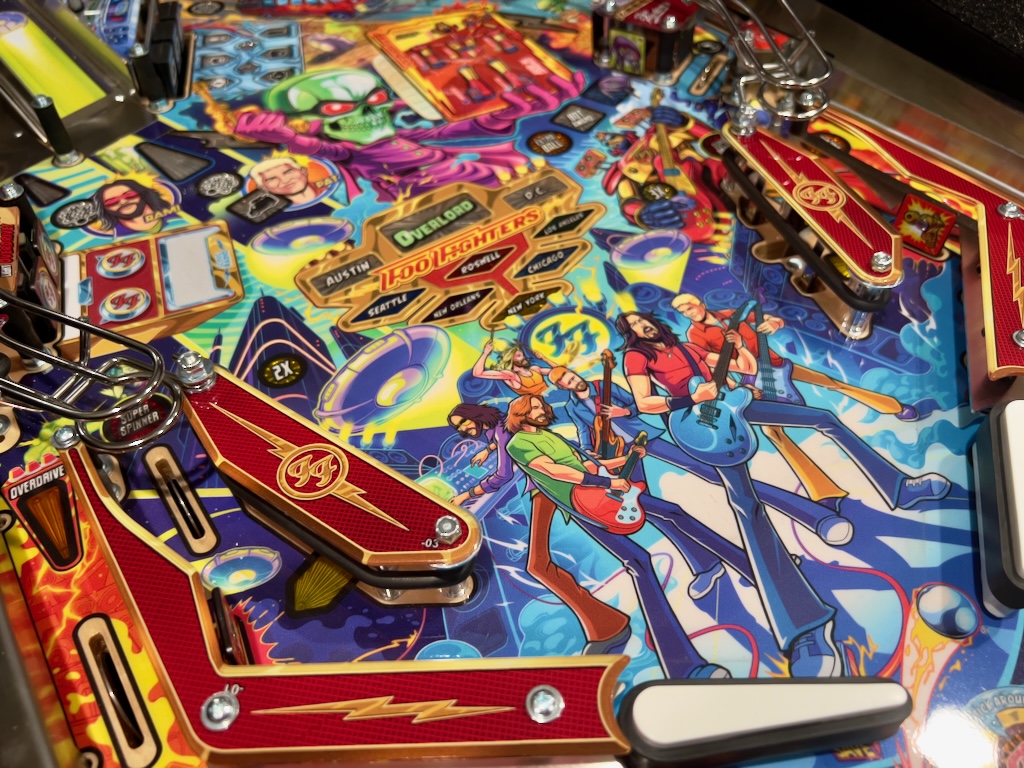
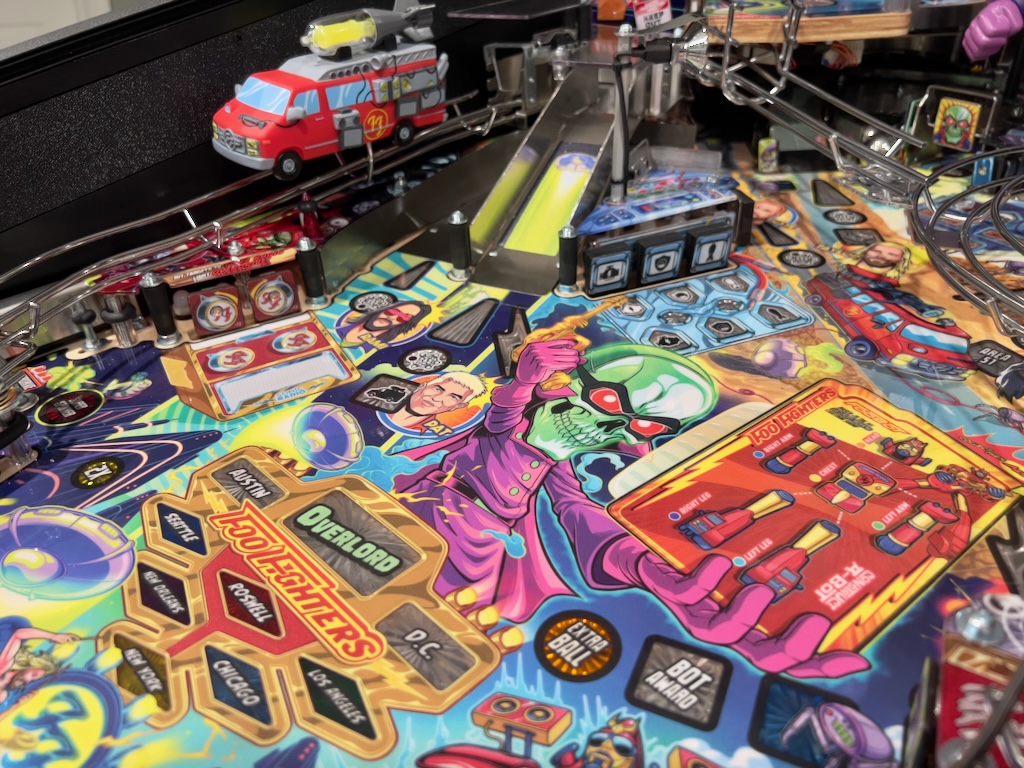
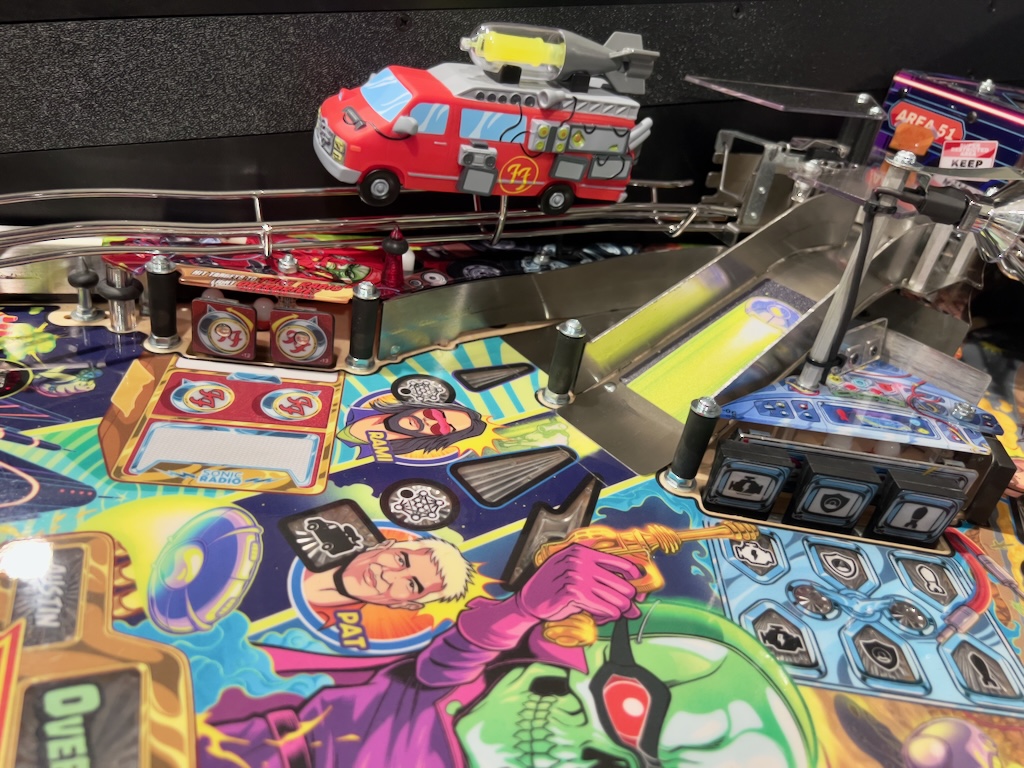
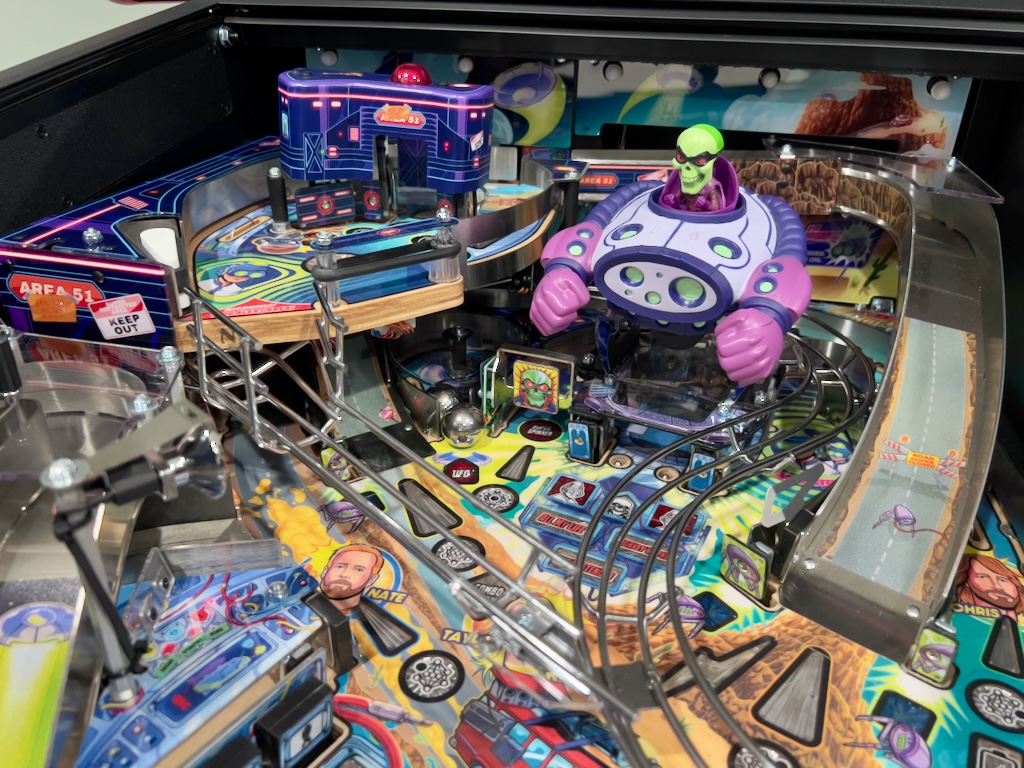
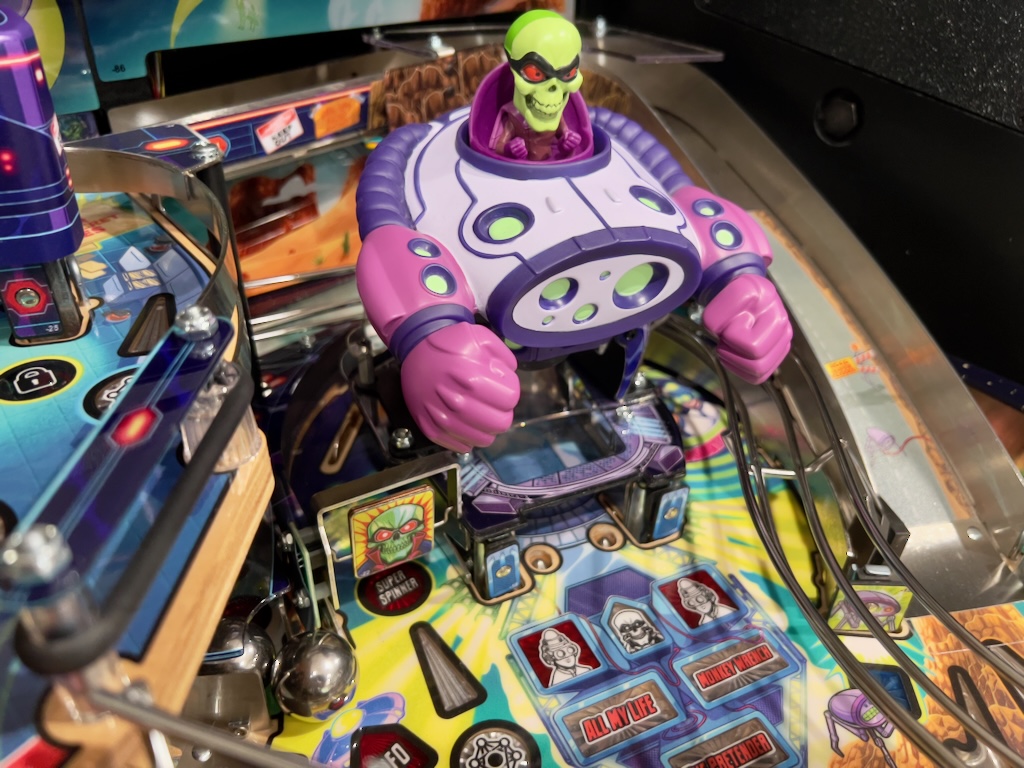
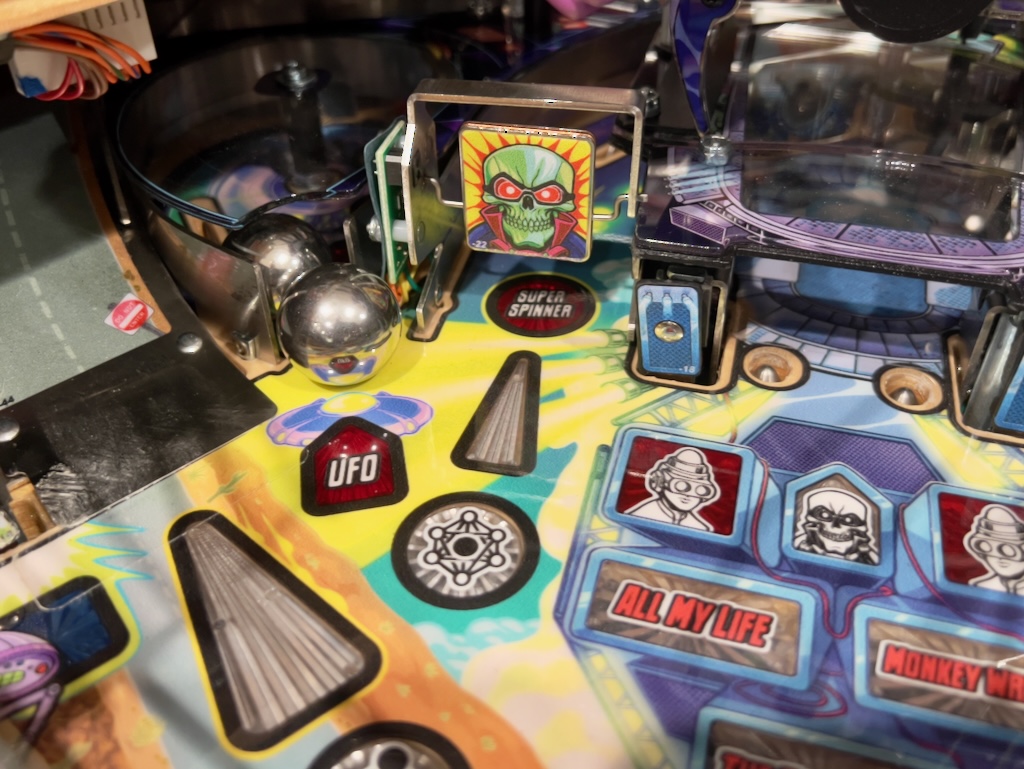
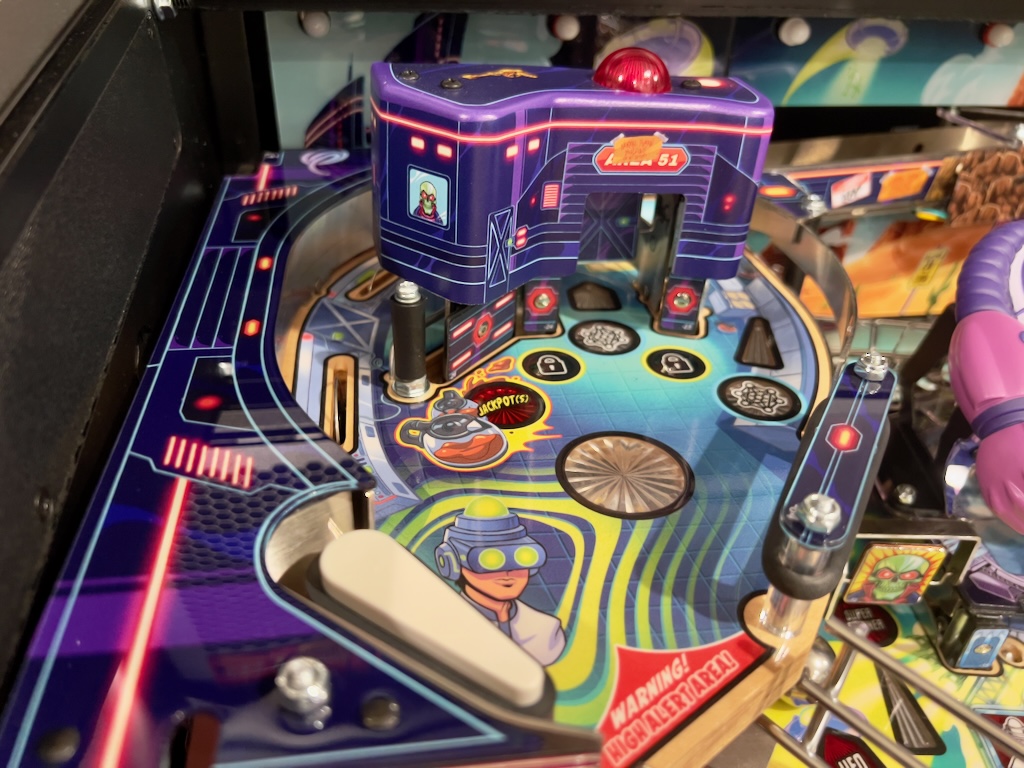
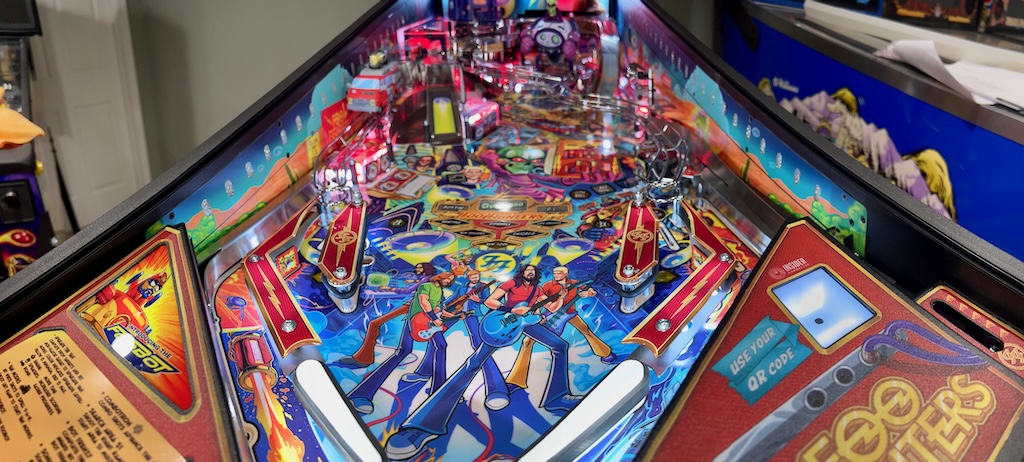
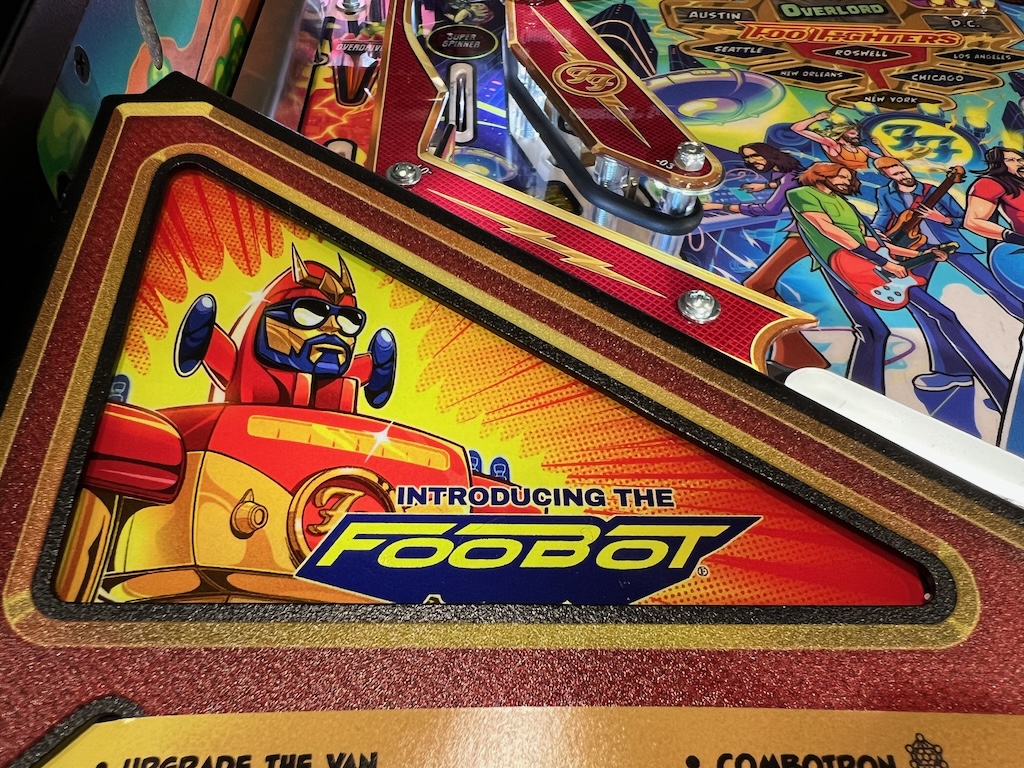
Playfield Pictures
April 11, 2024
Miscellaneous Pictures
April 6, 2024
Miscellaneous Pictures...

.jpeg)